
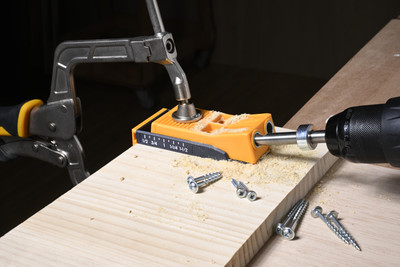
Pocket Hole Jig Guide: How to Choose the Right One and Use It Like a Pro
POWERTEC on Jul 6th 2026
Pocket hole joinery is one of the fastest ways to build strong, clean woodworking joints without complicated traditional joinery.
Whether you are building shelves, cabinets, furniture, face frames, or making quick repairs, a pocket hole jig helps you drill angled holes accurately so your screws pull the boards tightly together.
In this guide, we’ll cover what a pocket hole jig is, how it works, the mistakes to avoid, how to choose the right screws, and which POWERTEC pocket hole jig best fits your project.
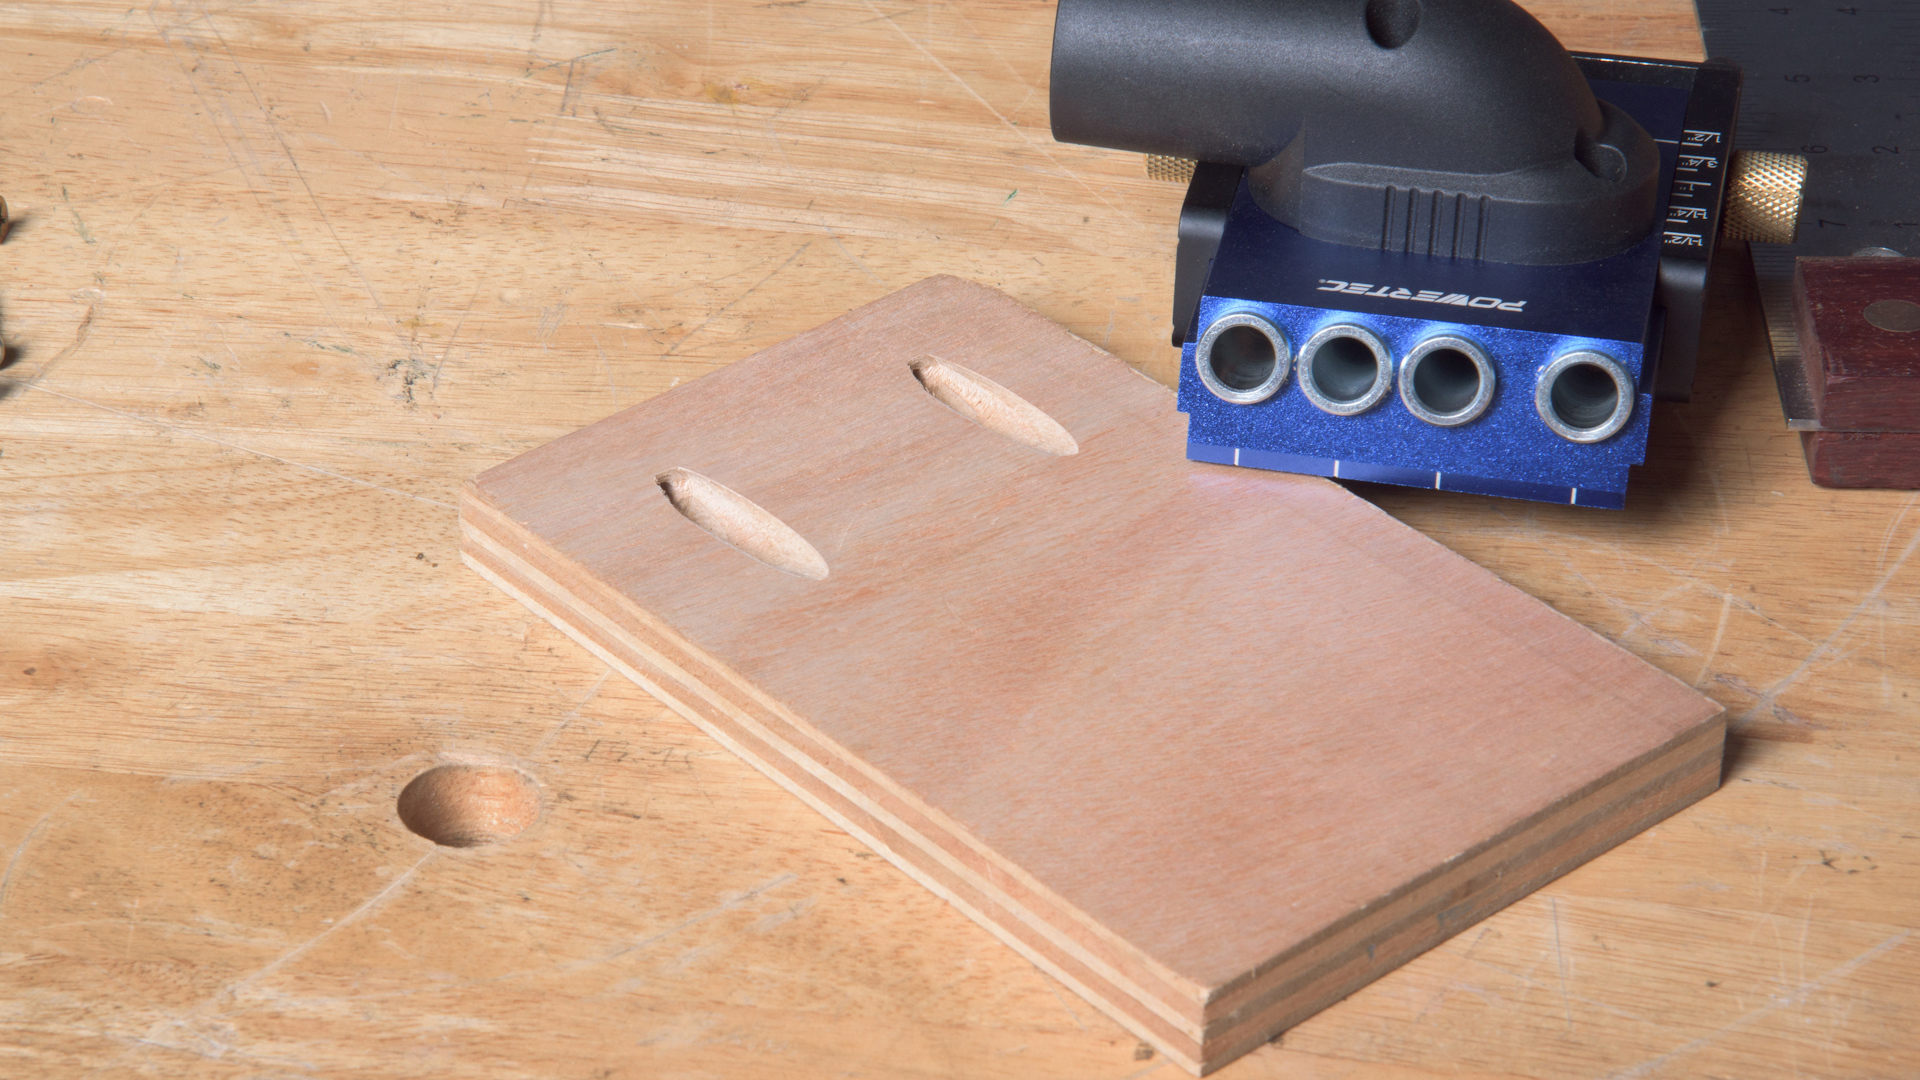
What Is a Pocket Hole Jig?
A pocket hole jig is a tool that guides your drill bit at a fixed angle (typically 15 degrees) to create a clean, angled pocket. A pocket-hole screw is then driven through the angled hole to pull two pieces of wood tightly together.
Most jigs handle material from 1/2" to 1-1/2" thick, which covers just about every common board you’ll build with. The method is popular for face frames, shelving units, custom cabinetry, workbenches, and furniture repairs because it’s fast, repeatable, and beginner-friendly.
Why Use a Pocket Hole Jig Kit?
Traditional joinery like mortise-and-tenon or complex doweling is strong, but it takes layout time, multiple machine setups, and practice to get right. A pocket hole system trims that down to a single jig, one stop-collared drill bit, and the right screws.
Pocket Hole Joinery vs. Butt Joint
What Is a Butt Joint?
A butt joint is about as simple as woodworking joints get. You take the end of one board and set it directly against the face or edge of another, then hold the two together with glue, nails, or screws. There’s no interlocking cut, no fancy layout. The boards just “butt” up against each other, which is where the name comes from.
Because there’s nothing to cut or measure beyond a square end, a butt joint is the fastest way to put two pieces of wood together. That speed is exactly why it shows up everywhere in a busy shop.
- • Simple boxes and drawers: Fast corners where the load stays light.
- •
- • Quick repairs and shop jigs: When you need it together now and it doesn’t have to be pretty.
- • Backing and hidden framing: Spots where glue plus a nail or screw is plenty.
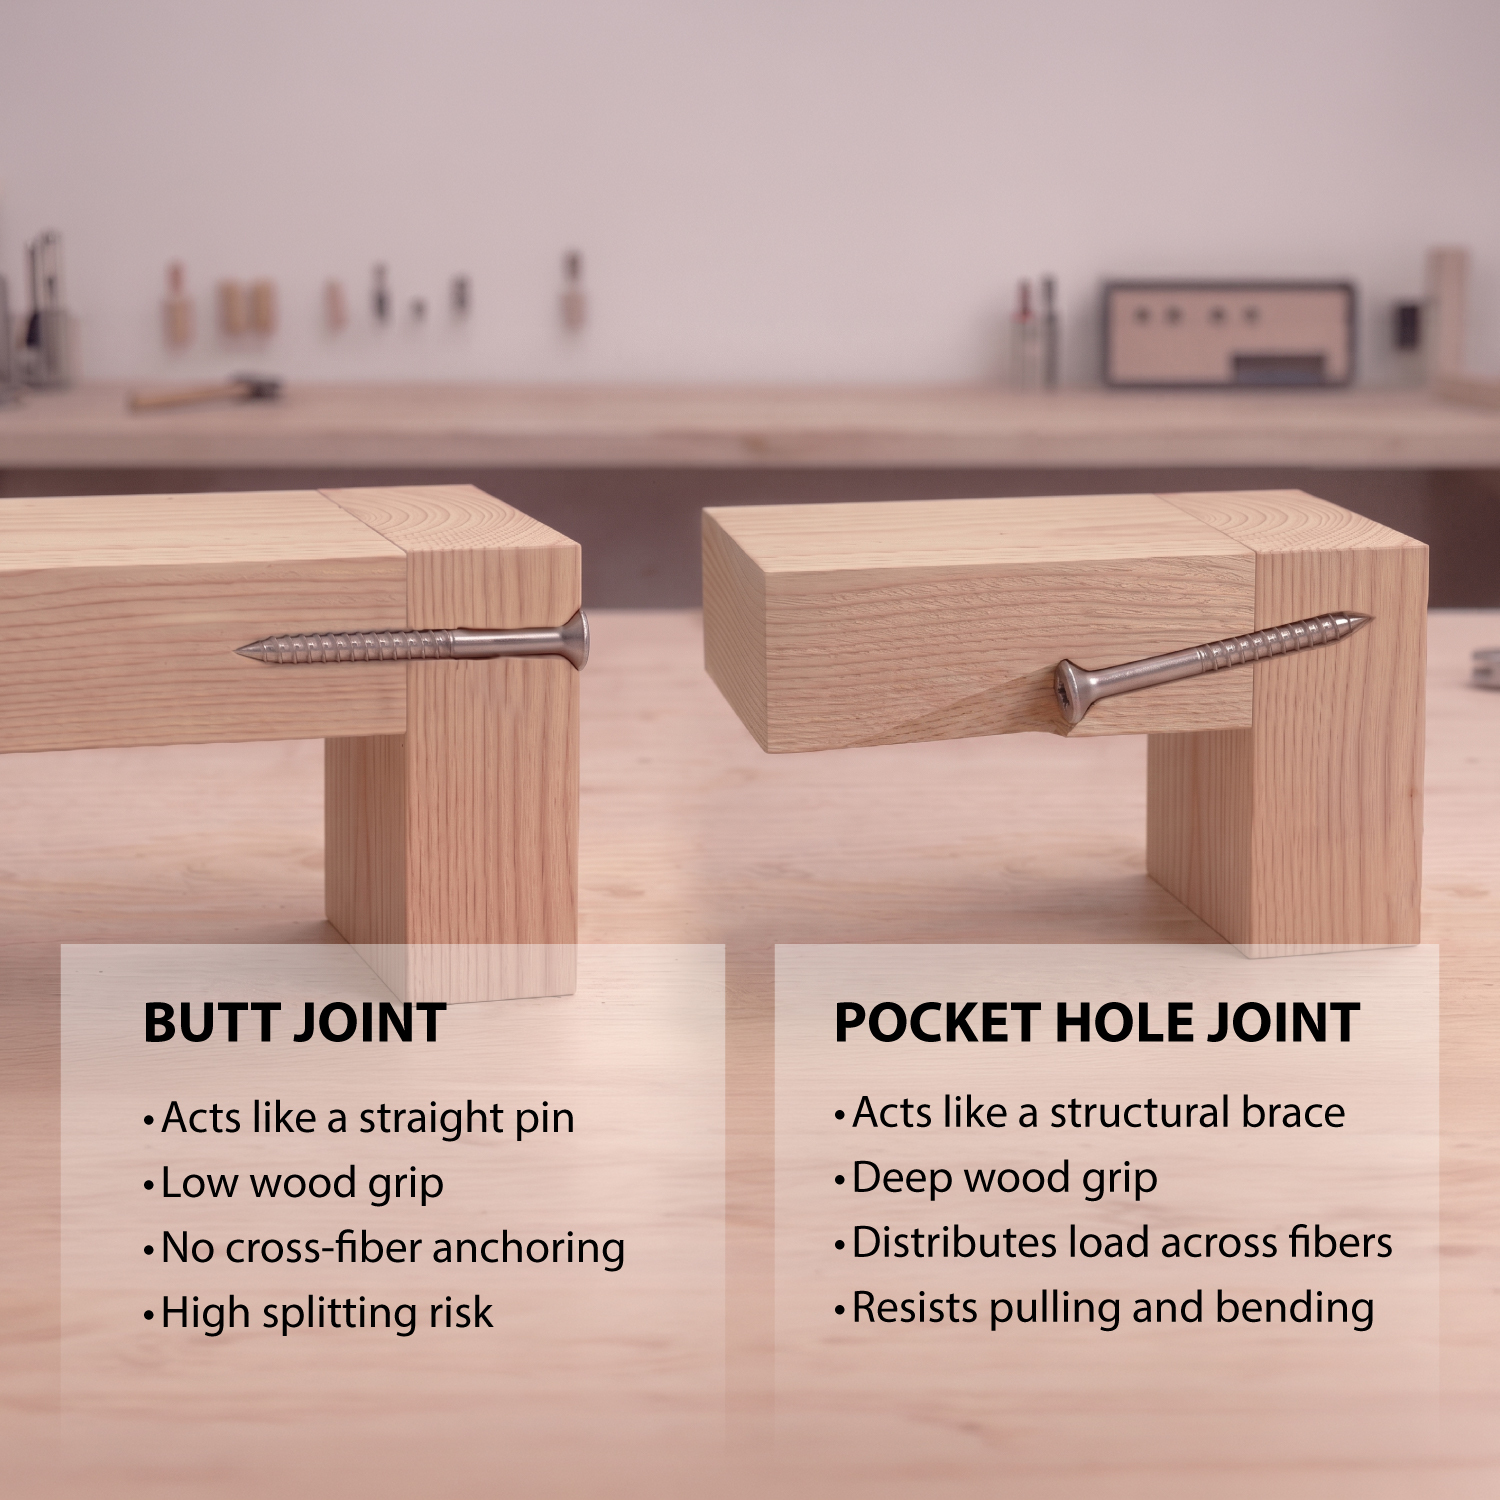
The tradeoff is strength. When you screw straight into the end of a board, you’re driving into end grain, and end grain doesn’t hold a fastener nearly as well as face grain. Lean on that joint with weight, or twist and rack it, and it can loosen, pull apart, or split. On its own, a plain butt joint just doesn’t have much holding it together.
How a Pocket Hole Joint Improves on It
Here’s the thing: a pocket hole joint is a butt joint. Same two boards, same basic setup. The difference is the screw. Instead of driving straight into that weak end grain, the jig lets you run the screw in at an angle so it grabs the face grain of the second board and pulls everything tight.
- • Stronger clamping force: The angled screw pulls both pieces together tightly instead of just poking into the end.
- • Better hold than a plain butt joint: You get a reinforced connection built for everyday cabinet, shelf, and furniture work.
- • Cleaner finished look: The screw sits down inside the pocket, so the outside face stays clean, no visible screw heads.
- • Faster, repeatable workflow: Once the jig is set, every hole lands in the same spot at the same angle, no guesswork.
Pocket hole joints are a great fit for cabinetry, face frames, shelving, drawer boxes, furniture repairs, and most DIY builds. For projects that take heavy racking, twisting, or real structural load, pick the joinery method that matches the strength the job demands.
How to Use a Pocket Hole Jig System
Most pocket hole projects follow the same basic workflow: set the jig for your board thickness, set the drill bit depth, clamp the workpiece, drill, and drive the screw.
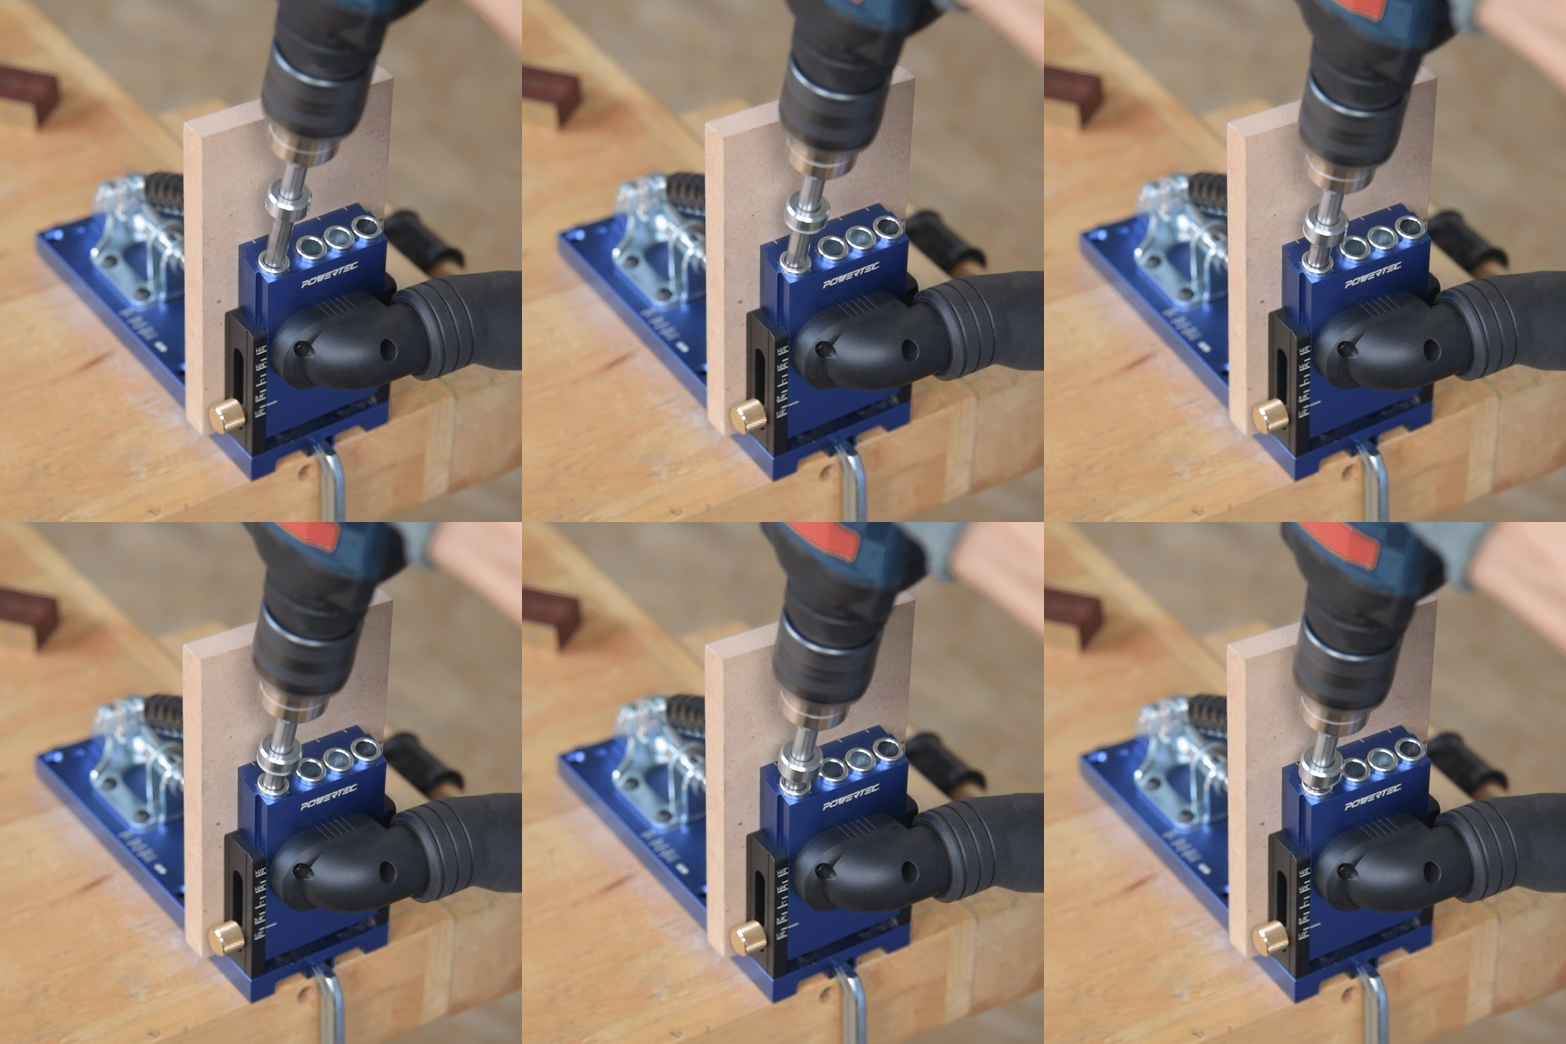
- 1 Set up for your project: Position the jig for a new assembly frame joint or a structural repair.
- 2 Set the jig for board thickness: Adjust the drill guide block slider settings to match your material thickness profile.
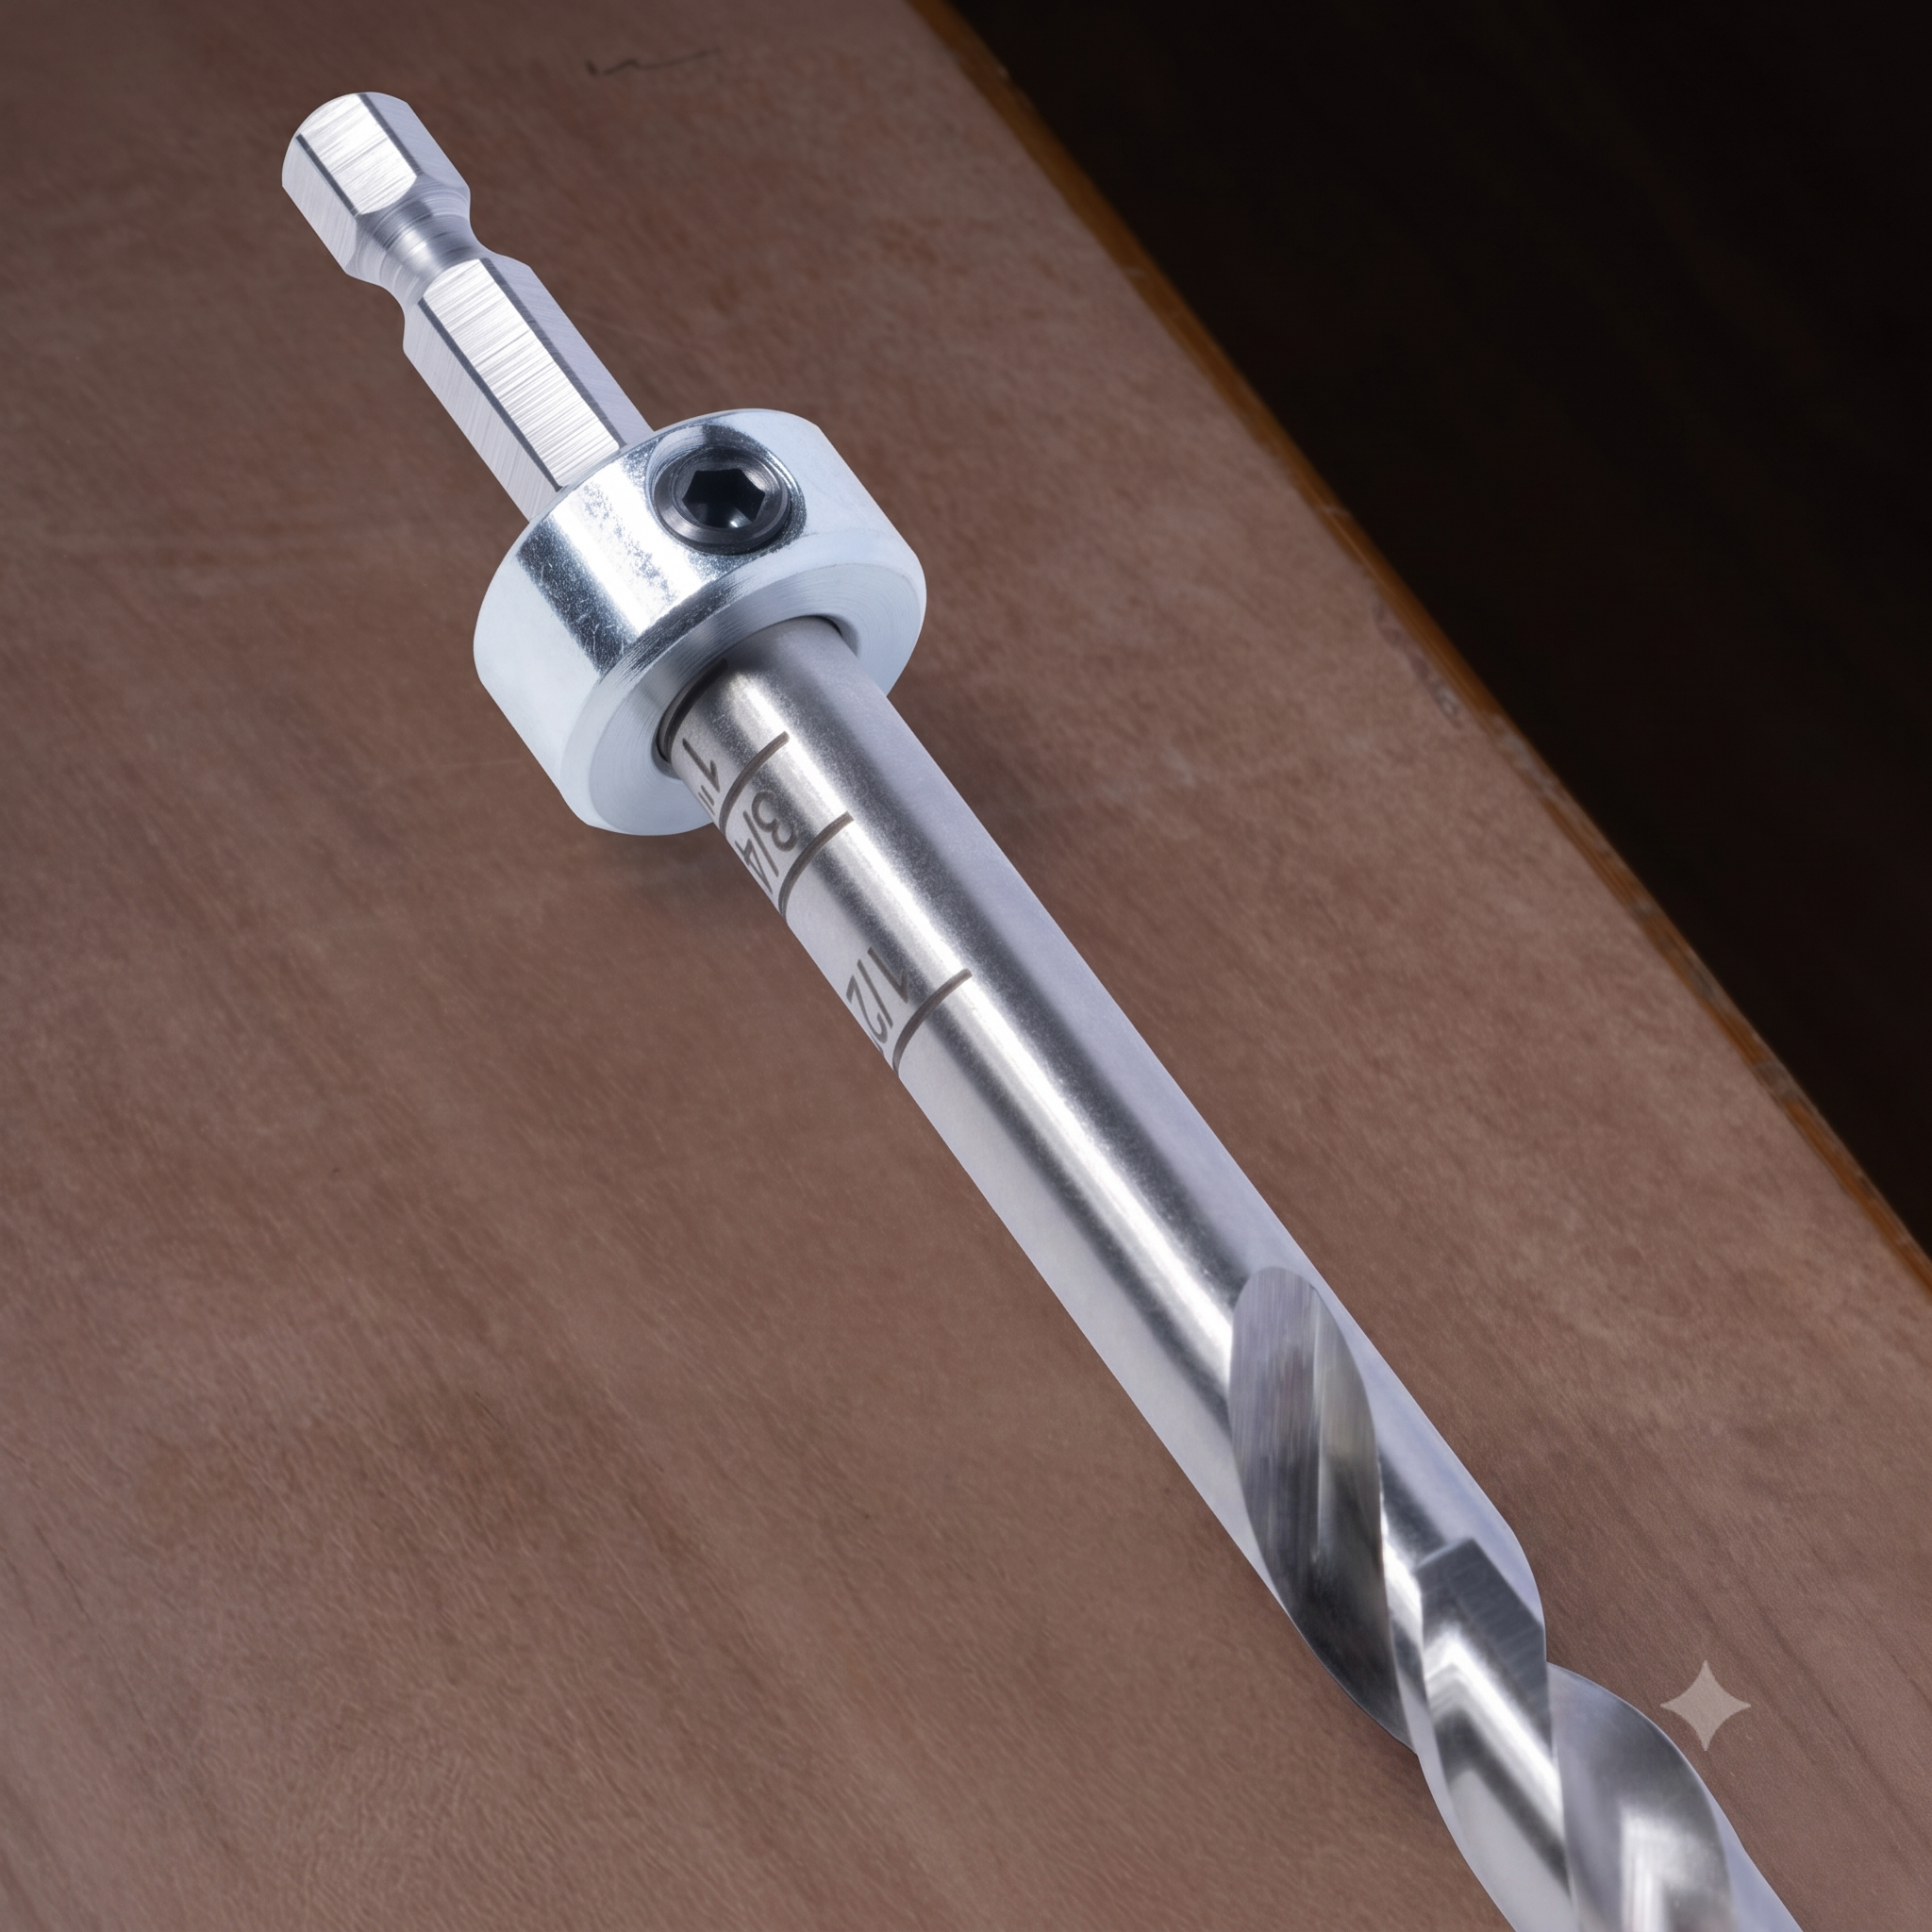
- 3 Set the drill bit depth: Position the stop collar lock tightly against the step bit shank, scaling to match your board.
- 4 Clamp the workpiece: Lock the toggles tightly to the wood before drilling so absolutely nothing shifts.
- 5 Drill the pocket hole: Run the bit down through the hardened steel guide line sleeve at a steady, clean pace.
- 6 Fasten the joint: Drive a square-drive pocket wood screw inside to securely lock the connection assembly flush.
 |
POWERTEC setup advantage
Laser-Engraved Drill Bit Depth Markings
The POWERTEC Twin Pocket Hole Jig Kit (72248) and Single Pocket Hole Jig Kit (72249) include a step drill bit with clear, laser-engraved depth markings. You set your stop collar against the marks instead of reaching for a tape measure, so setup is fast and dead-on. |
Common Pocket Hole Mistakes to Avoid
- • Drilling too deep: Can break through the wood or weaken the pocket.
- • Wrong screw length: Too short gives you a loose joint; too long pokes the tip out through a finished face.
- • Using tapered wood screws: Drywall or bugle-head screws act like a wedge and can split the pocket. Use flat-bottom head pocket hole screws.
- • Skipping the clamp: Lets boards twist out of alignment when you drive the screw.
- • Wrong thread for the wood: Use fine-thread screws in hardwoods like oak and maple, and coarse-thread screws in softwoods and plywood so they bite without splitting.
Choosing the Right Pocket Hole Screw Size
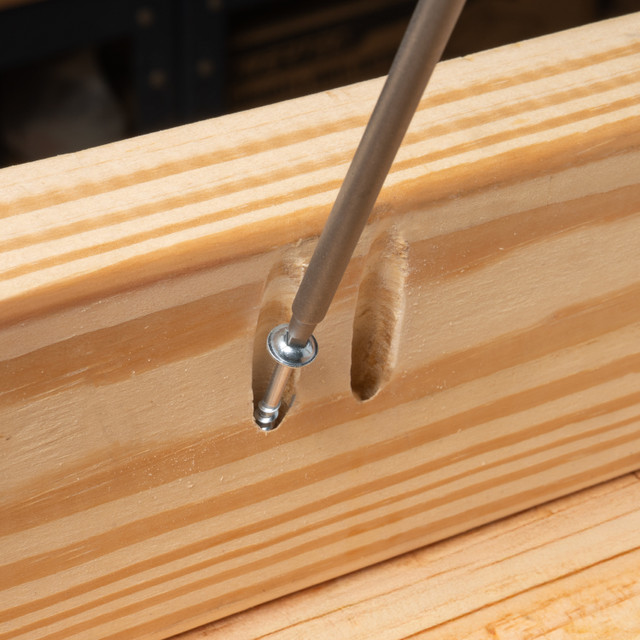
Pocket hole screws have a flat-bottom, washer-style head that seats cleanly inside the pocket. Match the screw length to your board thickness, and pick coarse or fine threads based on your material.
 |
 |
Note: These pocket hole screws are zinc-plated for indoor use. For exterior projects exposed to moisture, choose a screw with an exterior-rated corrosion coating.
Which POWERTEC Pocket Hole Jig Is Right for You?
The best pocket hole jig comes down to three things: how often you build, where you build, and the size of your projects. Use the guide below to match a jig to your workflow.
 |
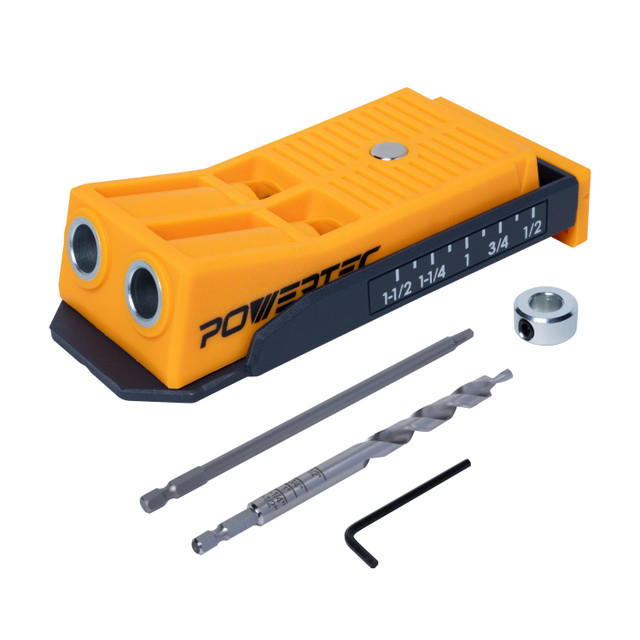
Single Pocket Hole Jig Kit (72249)
•Best for beginners, repairs, and quick fixes
•Magnetic quick-adjust base for faster clamping and repositioning
•Laser-marked drill bit keeps stop collar setup simple
|
 |
Twin Pocket Hole Jig Kit (72248)
•Best for furniture, shelving, and cabinets
•Twin-hole drilling guide speeds up repeat joinery work
•Built-in setup gauges cut down on manual measuring
|
 |
Twin Pocket Hole Jig with Screws Kit (71845)
•Best complete starter bundle with screws, driver bit, and carry box
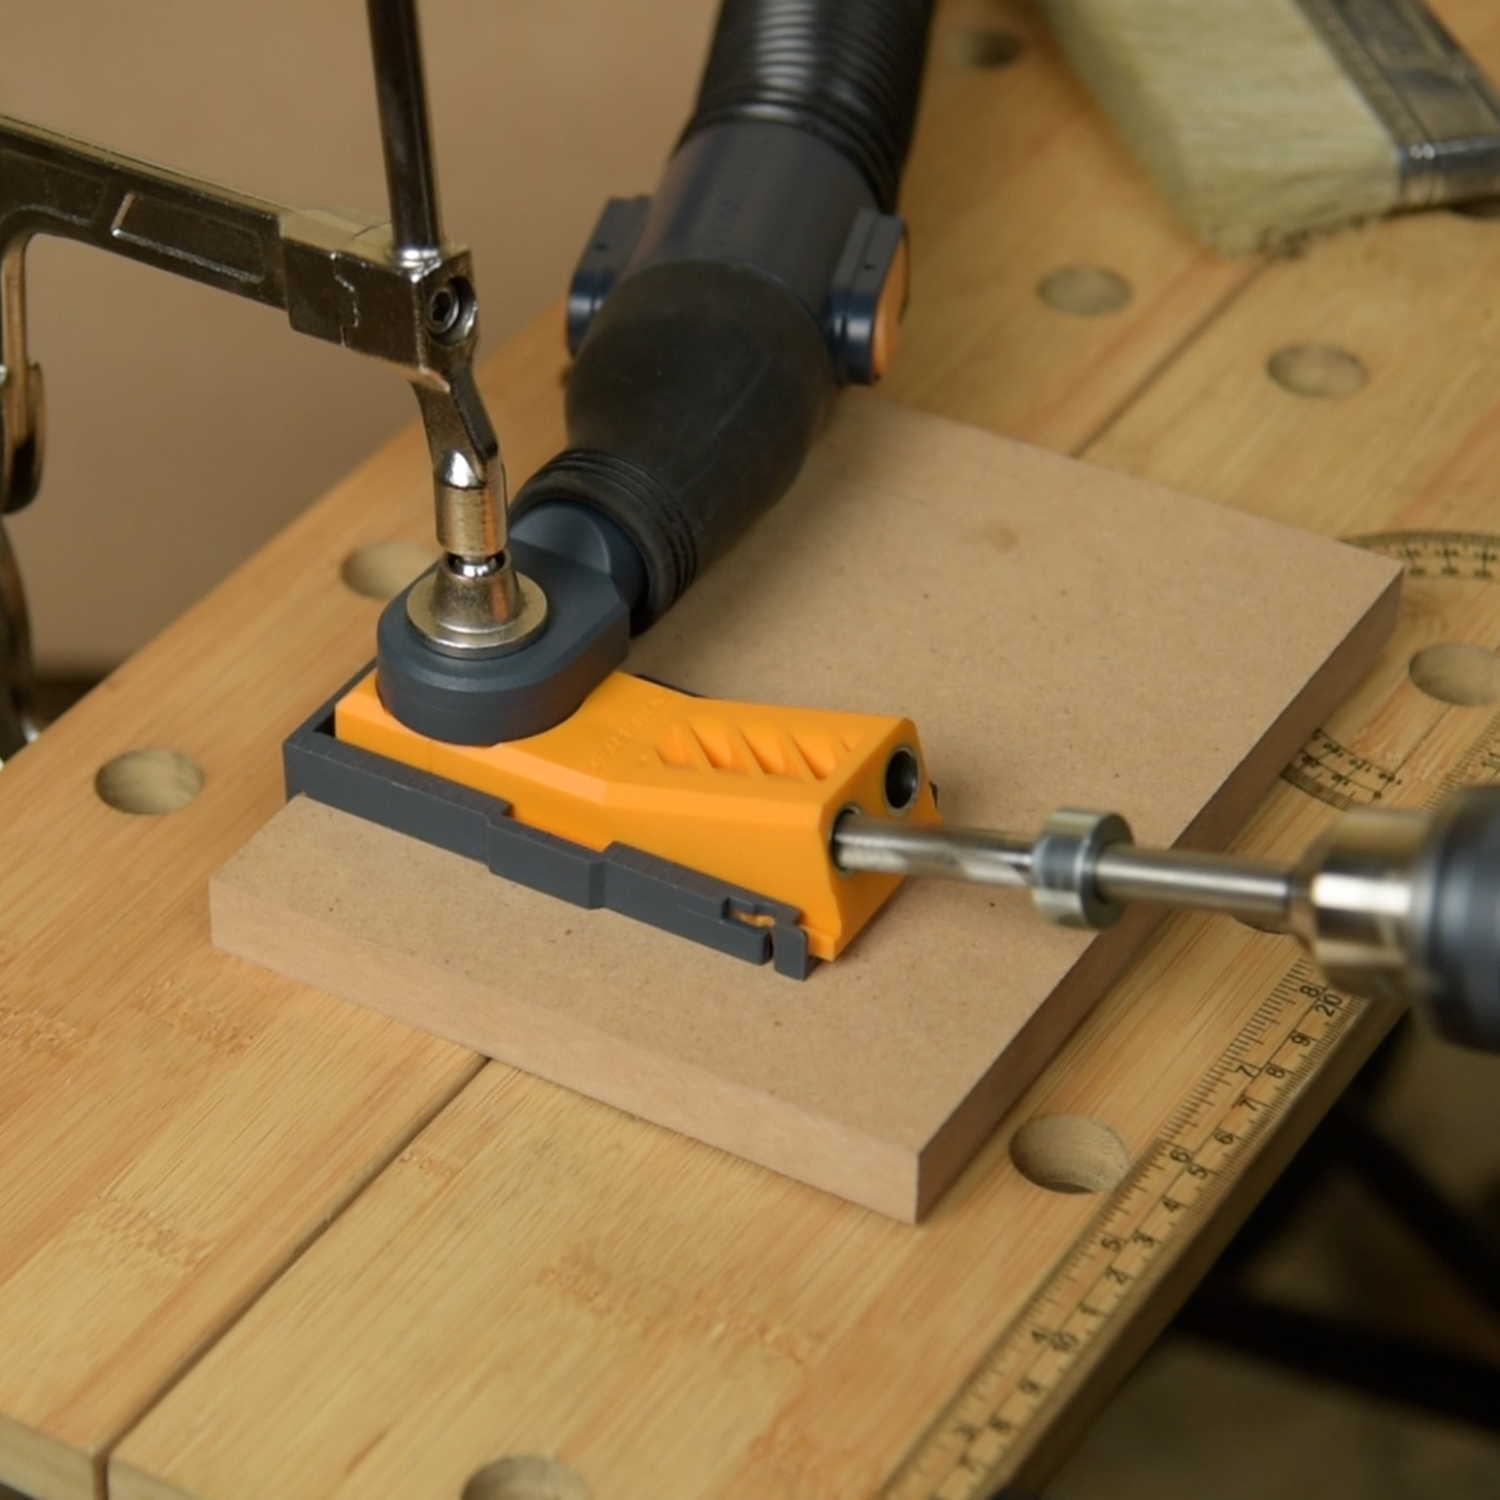
•Dust port adapter for shop-vac hookup to keep drilling clean
•Great for everyday workshop setups
|
 |
Aluminum Pocket Hole Jig Set with Dust Port (71844)
•Premium pick for bench-mounted work in a busy shop
•Heavy-duty anodized aluminum body holds accuracy over time
•1-1/4" dust port connects straight to a shop-vac
|
What Woodworkers Are Saying
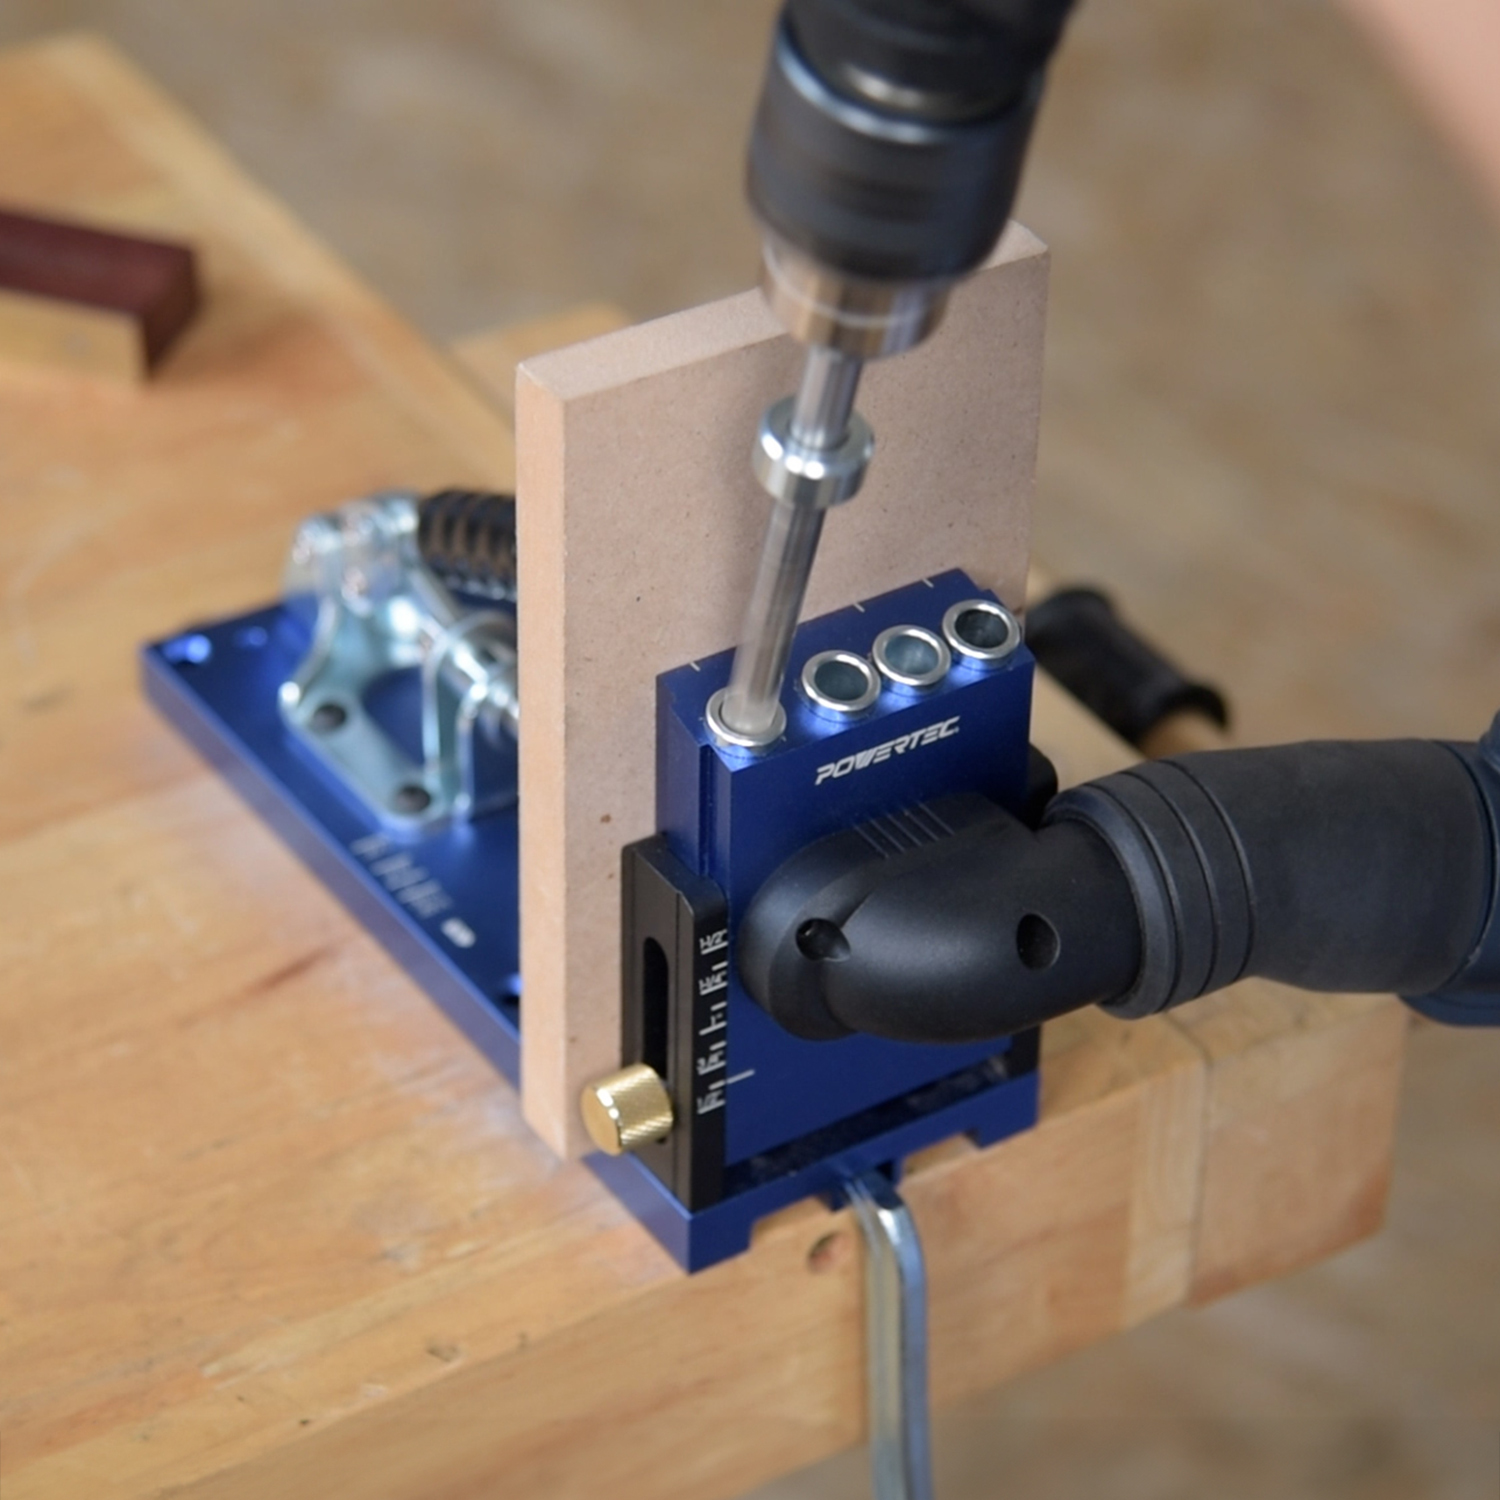 |
Aluminum Pocket Hole Jig Set with Dust Port (71844)
★★★★★
“Excellent jig, accurate and easy to use with outstanding dust collection.” — Carl
|
 |
Twin Pocket Hole Jig with Screws Kit (71845)
★★★★★
“Super easy to set up and use.” — Ray Ducharme
|
Replacement Bits & Accessories
Keep your pocket hole jig cutting clean with replacement drill bits and driver bits built for accurate holes and secure fastening.
 |
1/4" Hex Shank Pocket Drill Bit with Stop Collar (71933)
Cuts clean, consistent pocket holes with a stepped 3/8" bit, an adjustable stop collar, and a quick-change 1/4" hex shank. |
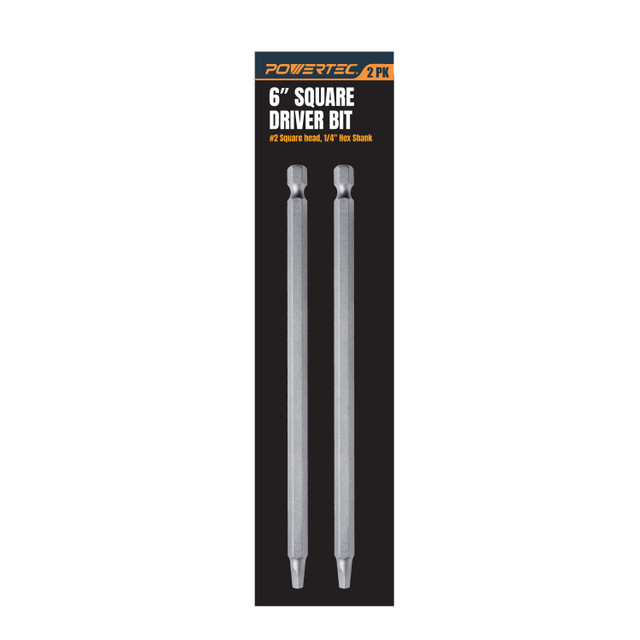 |
6" Square Driver Bit Set, #2, 1/4" Hex, 2-Pack (72259)
The 6" reach and magnetic #2 square-drive tips help you seat pocket screws in deep, tight cabinet frames and hard-to-reach spots. |