Holiday Gift Inspirations: Working with Epoxy
POWERTEC on Nov 20th 2021
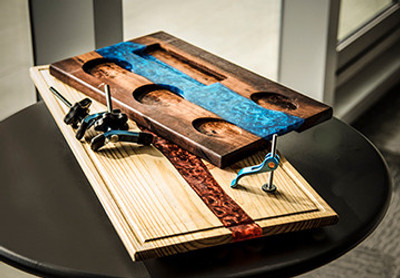
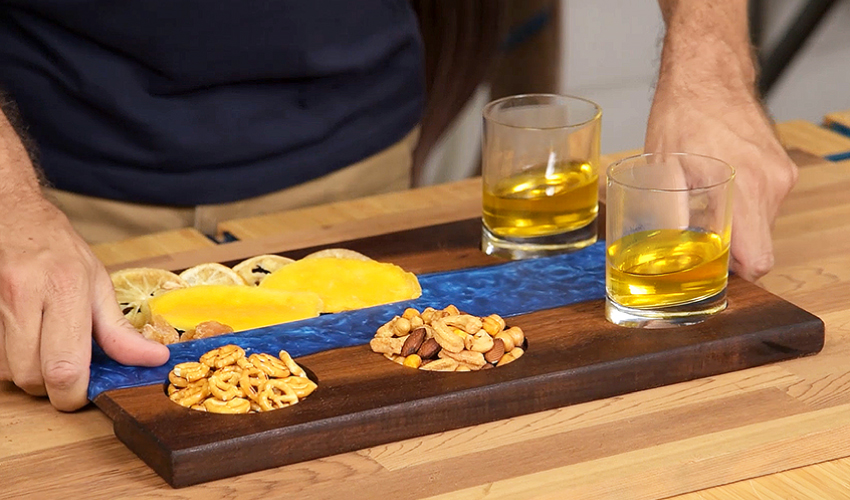
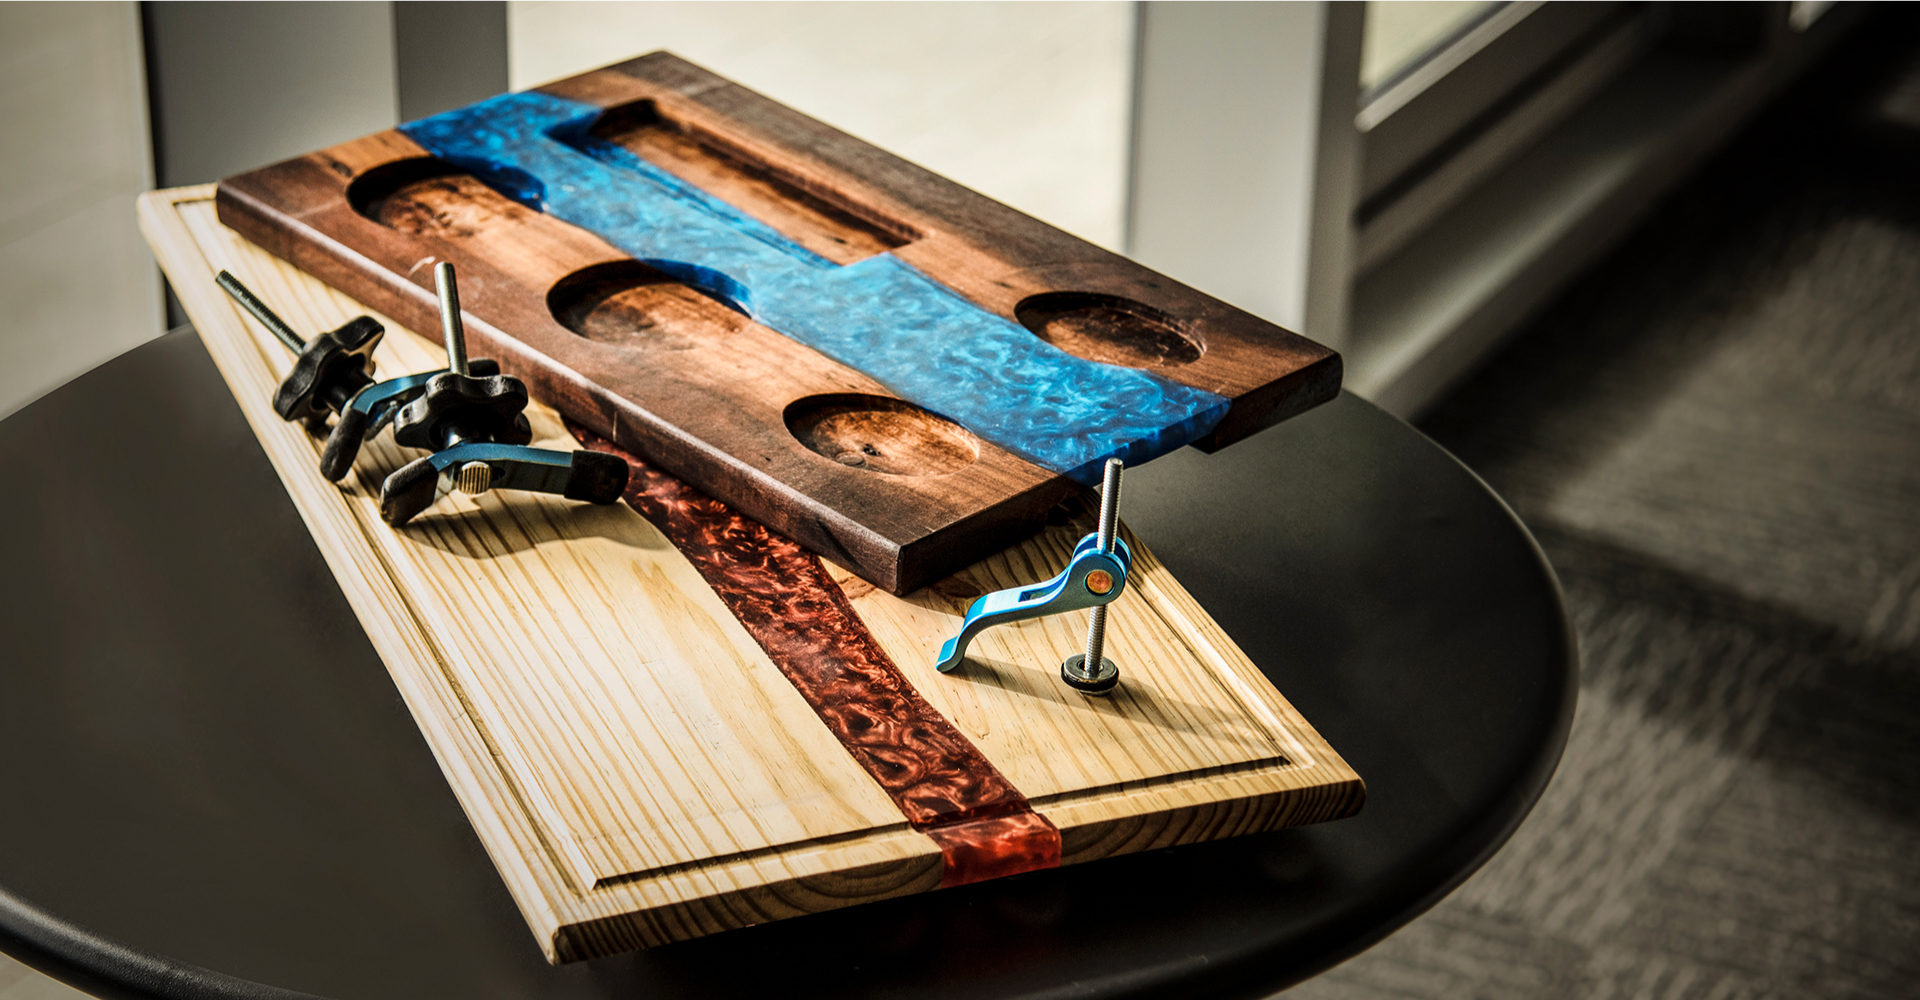
With the big holidays just around the corner, now’s a great time to get working on gift ideas. Making an epoxy-river serving tray is much easier than it looks. Assembling a mold can be done in less than an hour! After that, it’s all about pouring, allowing it to cure, and making the finishing touches. This is a project that keeps on giving. Make personalized trays and boards for your family and friends while honing your skills with epoxy and wood.
|
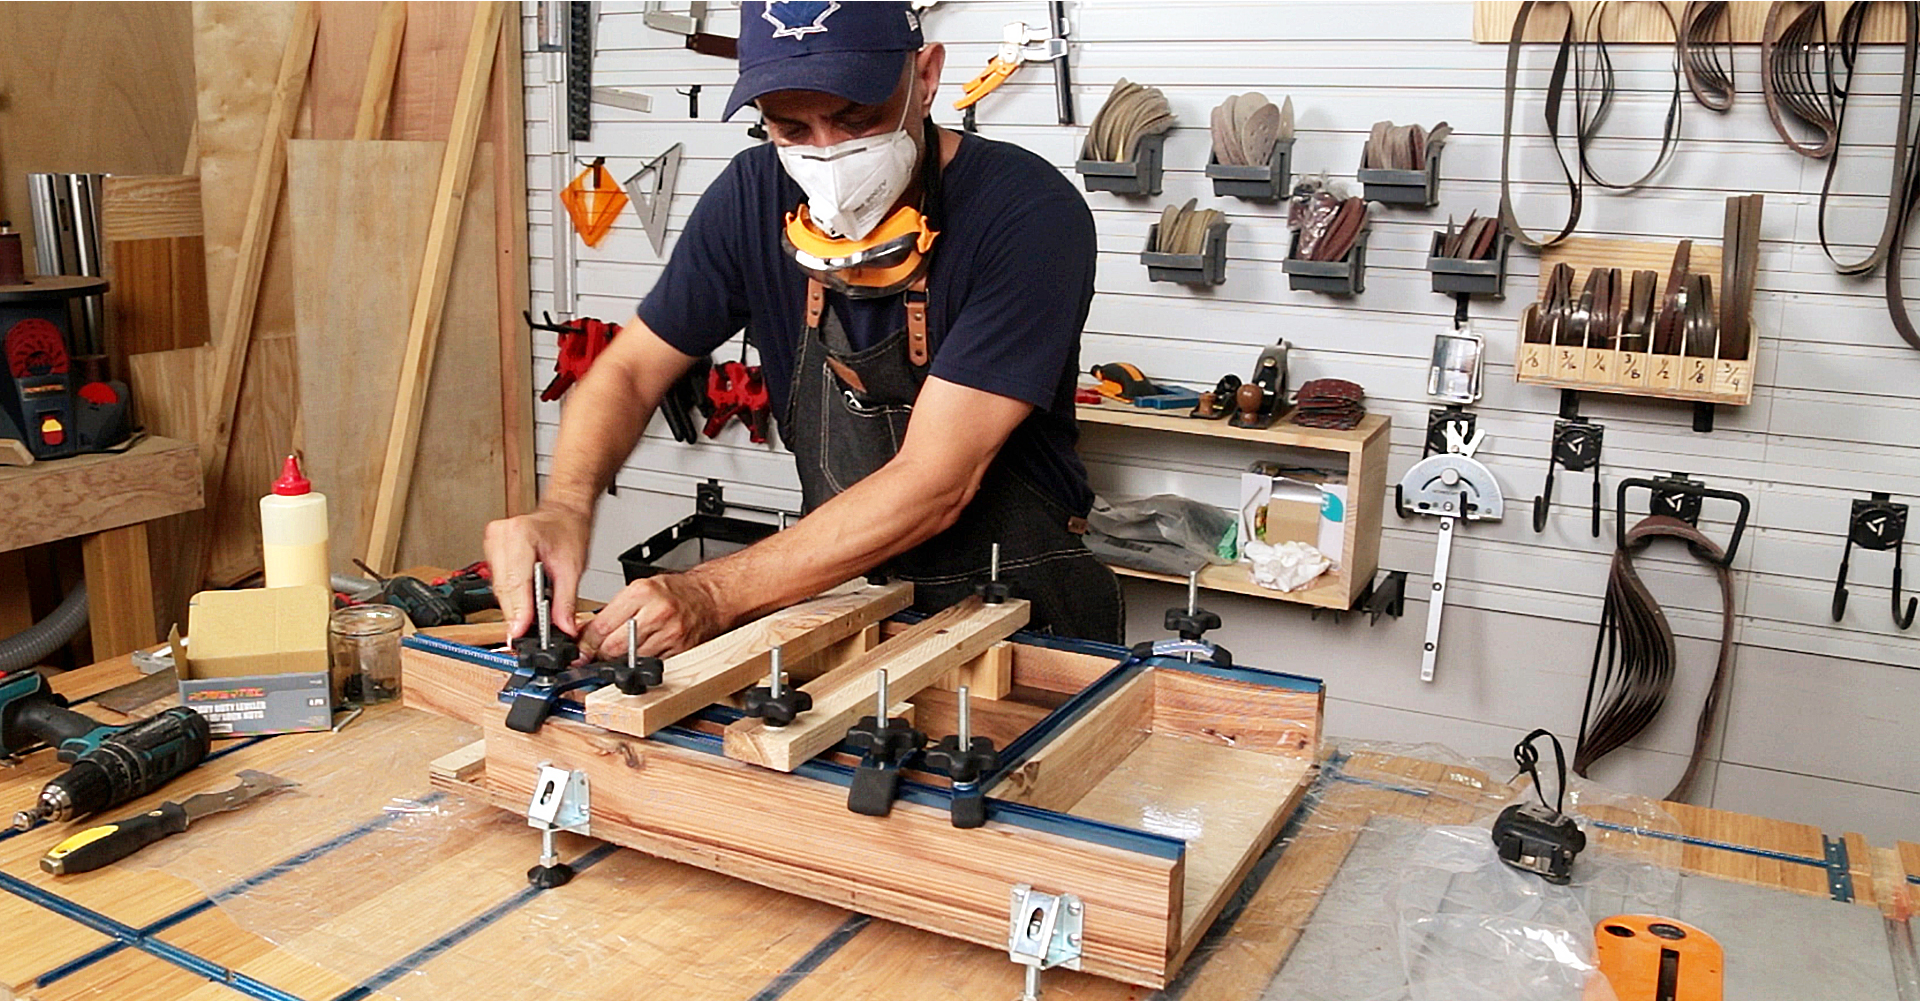
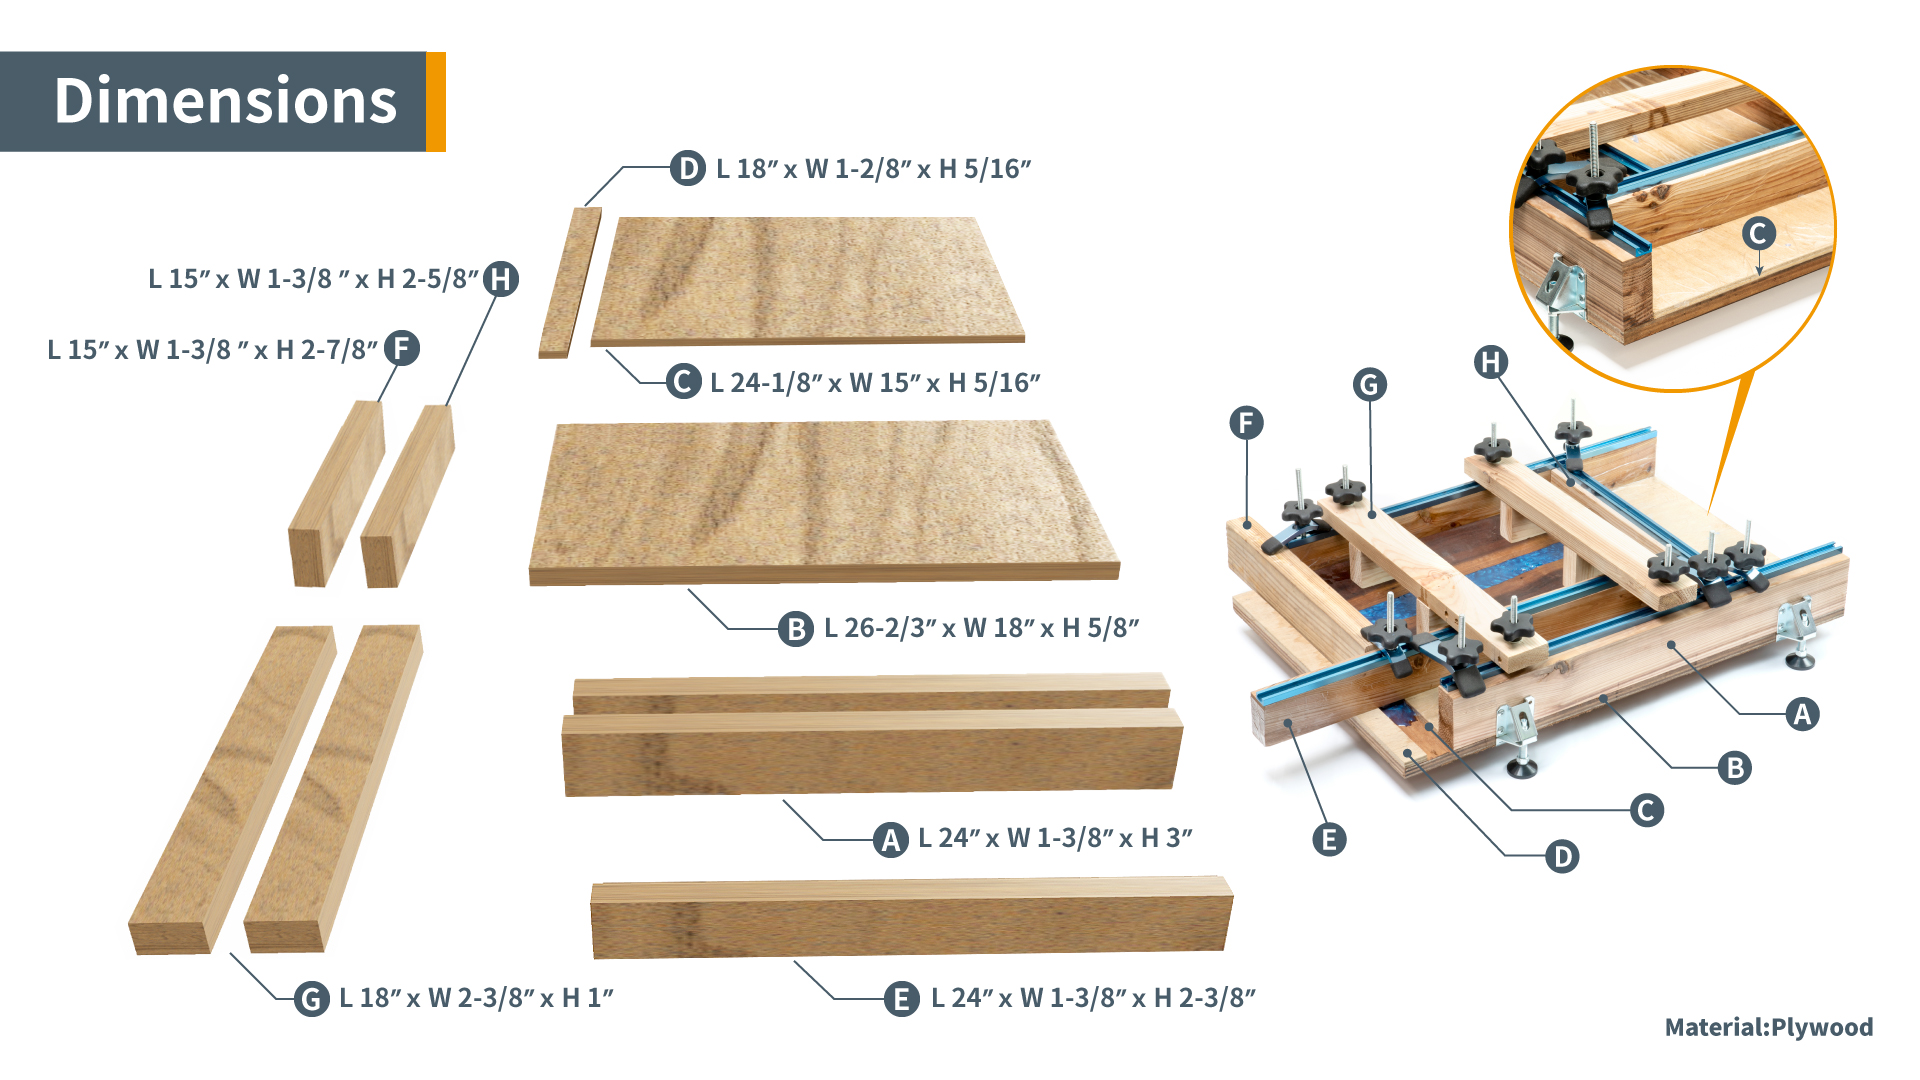
Two Mold Ideas We’ve got two mold ideas for you. The first being a one-size mold, which is great for absolute beginners. The second mold is a little more complicated, as its adjustable walls allow you to make trays and boards of different sizes. We recommend starting with the one-size mold as you become familiar working with epoxy. |
|
|
|
|
|
|
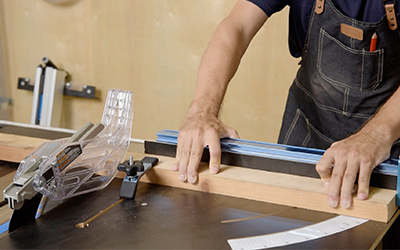
Step.1 After a little work on the table saw and planer, we had the pieces measured and cut to size and were ready to start assembling our mold. |
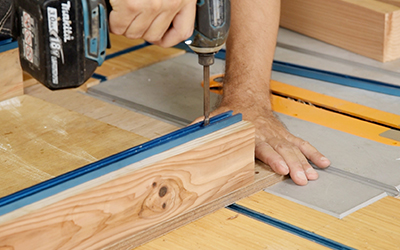
Step.2 The smaller base board becomes the floor of the mold, sitting raised next to the walls. This helps to make the mold leak-resistant. |
Step.3
T-tracks and related accessories are indispensable. |
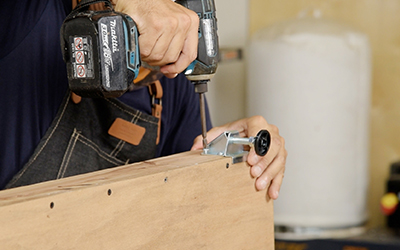
Step.4 We added leveler legs as the mold has to be perfectly level before pouring the epoxy, otherwise there’s the risk of leaking or over-pouring the epoxy. |
 |
 |
 |
 |
|
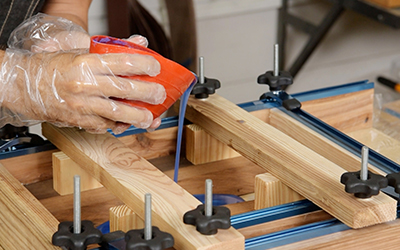
Step.5 We added t-tracks to two of the remaining three walls. The three unsecured walls make the mold size-adjustable. How we place them is determined by the size of the project we’re working on. |
Step.6
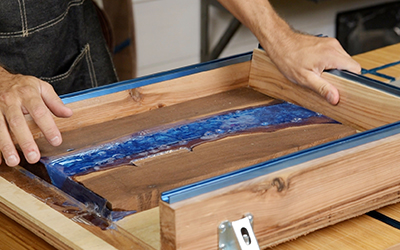
The mixing ratios and cure times depend on the type of epoxy that you’re using, this varies from product to product. |
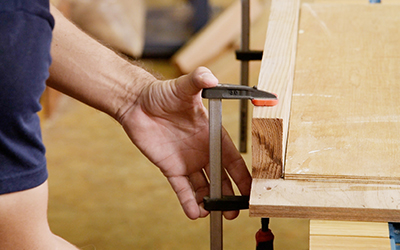
Step.7 Once cured (ours took 24 hours) removing the workpiece from the mold was as easy as removing a few clamps, unscrewing a few knobs, and a little hammering. |
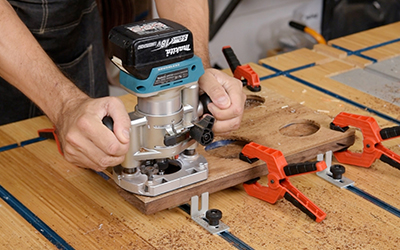
Step.8 Lastly, the final touches. You decide the purpose, color and decorative additions that’ll make your board unique for the person you’ll give it to. Good luck with your own epoxy projects. |

Used clear polypropylene tape to line the base and walls of the mold. This prevents the epoxy from bonding with the mold.
Secure your project to the bottom of the mold, otherwise it’ll float on top of the epoxy.

