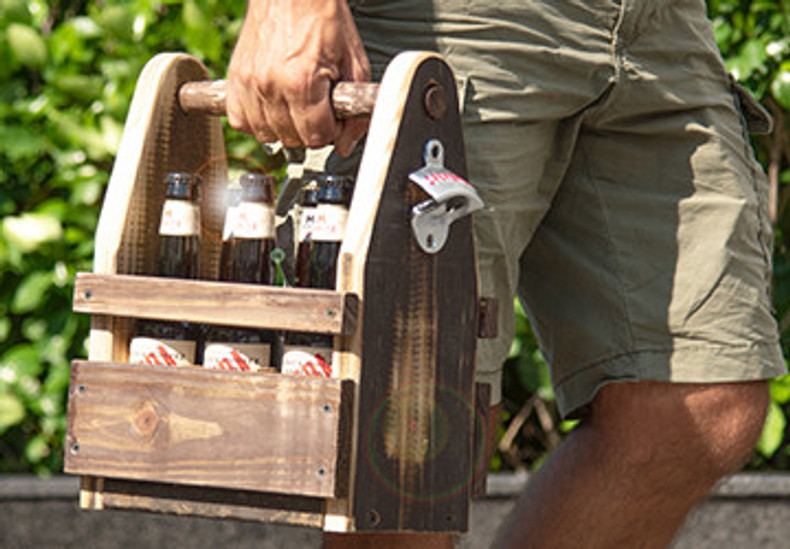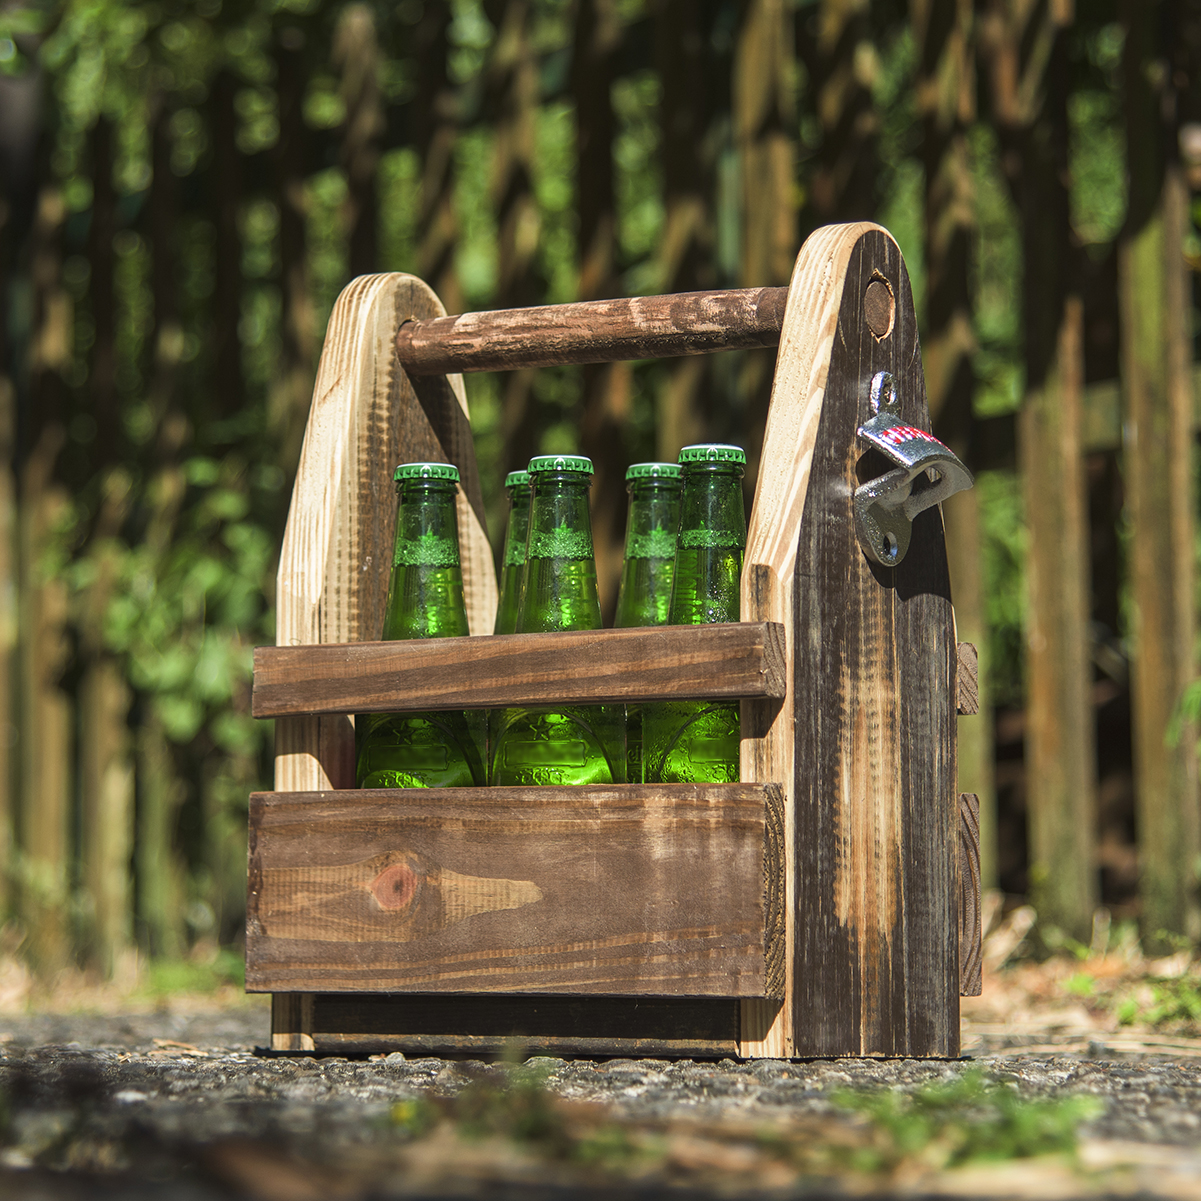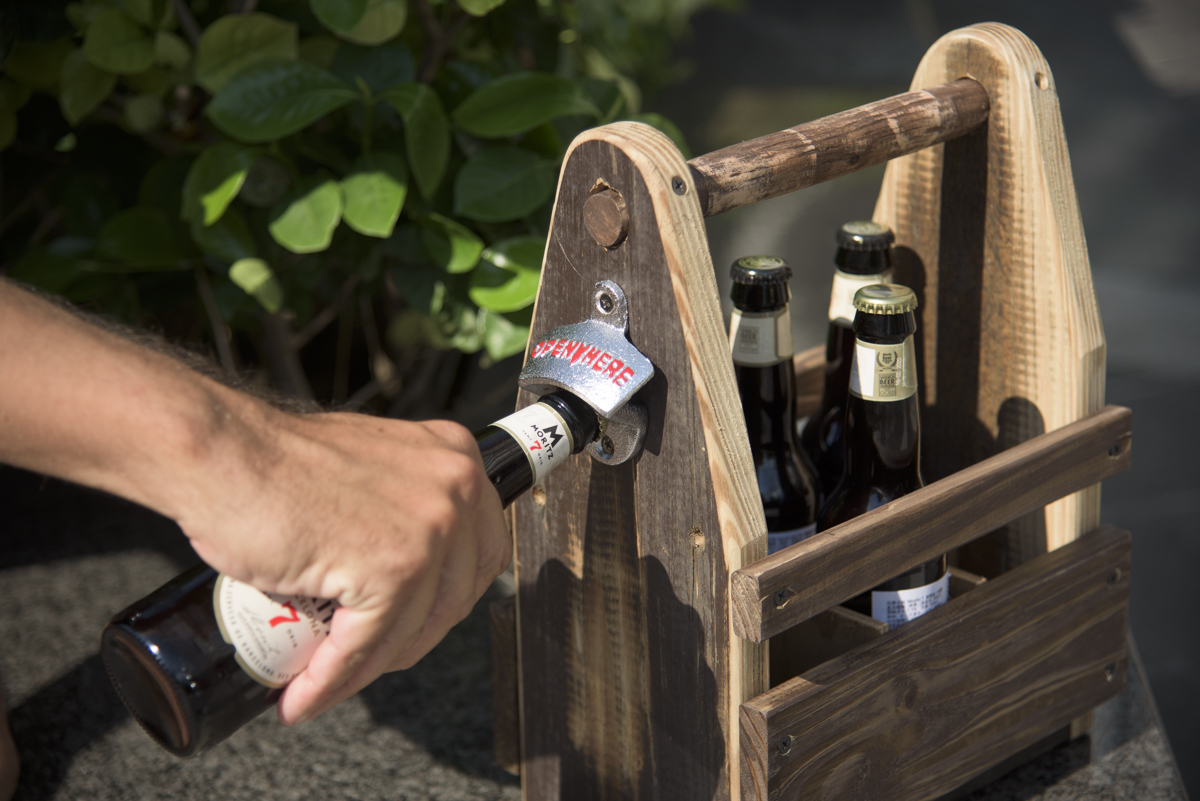
With the Labor Day Long Weekend just around the corner, we’ve got a great project to help you wind down the summer: The beer caddy. Carry drinks from your fridge to your friends in the backyard with this stylish caddy. It’s surprisingly easy to make just using scrap pieces from around your workshop. Not just that, come winter time, it will make a super gift, the ice-fishing beer caddy.
An Entry-Level Project
|
|
The Beer Caddy is a basic-level project that can be assembled in about an hour. You’ll be working with a miter saw, a jigsaw, a belt sander, as well as a drill. To help finish sections of the caddy, we also built a tracked work surface for mounting hold-down clamps and round stops. The track board is a great workshop addition that you’ll find yourself using again and again on other projects (we’ll do a blog on this in the near future). |
The Plans
|
|
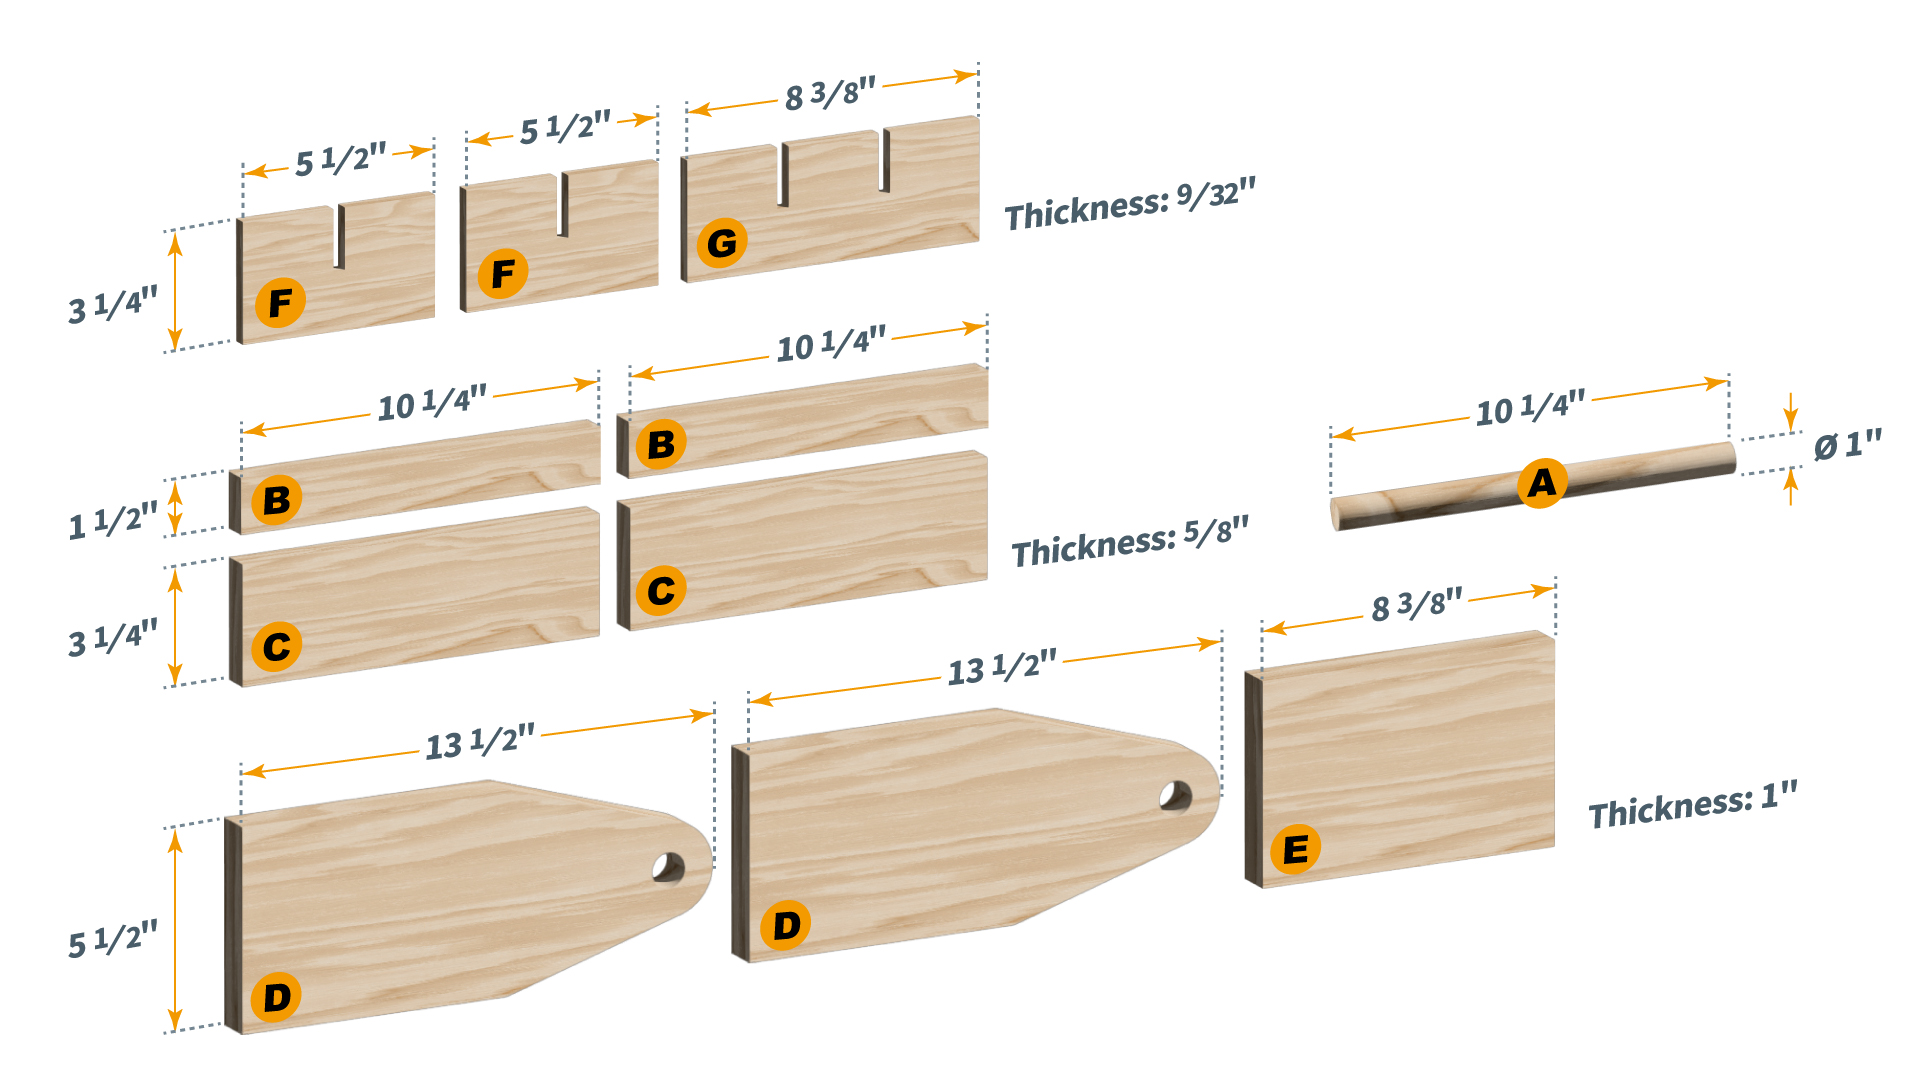
With the exception of the ends, cutting out the shapes is fairly straightforward. Just use some scrap wood from around the workshop, planed to one-inch thick. There are a few ways to cut the shapes out; we went with a miter saw and then jigsaw to cut curves. It could probably all be cut on a bandsaw, too. |
Making the Ends
|
|
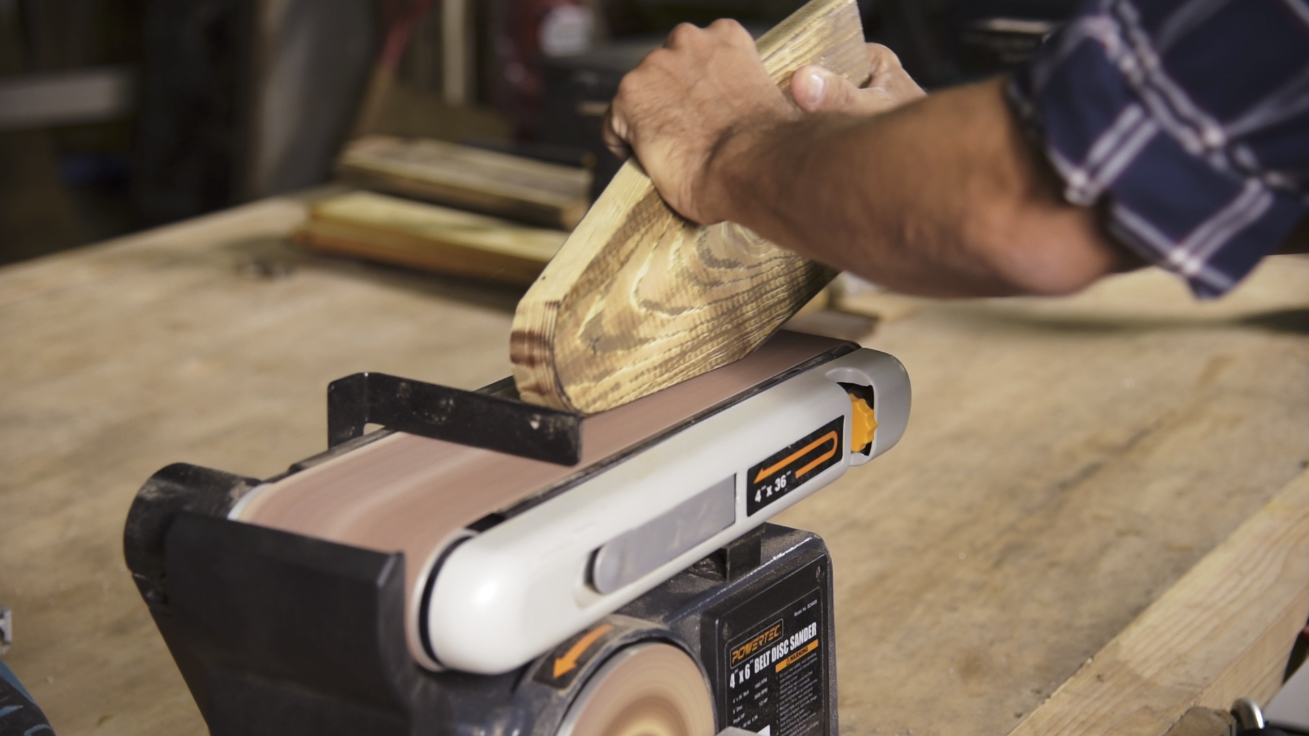
The caddy ends are the most challenging parts to make. First, we clamped each in place on the track board, then used a jigsaw to cut out the pre-marked shapes as closely as possible. Finally, over to the sander to finish removing the excess wood, getting to those pre-marked lines. |
Drilling the Dowel Holes
|
|
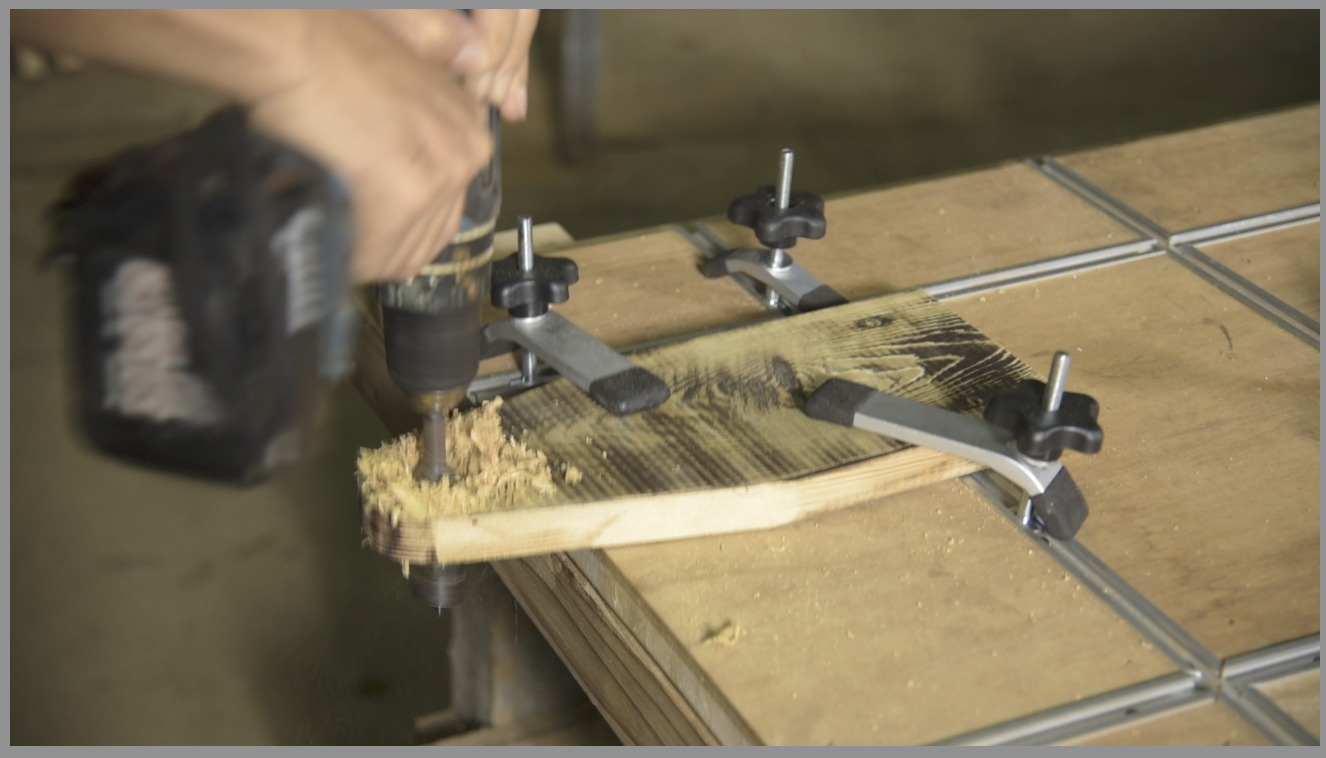
With the ends fashioned, we next cut the holes for the handle. Pre-mark, then using a 1” bit, drill the hole but don’t cut all the way through. Instead, to save splintering the board, flip it over and complete drilling the hole from the other side. |
|
|
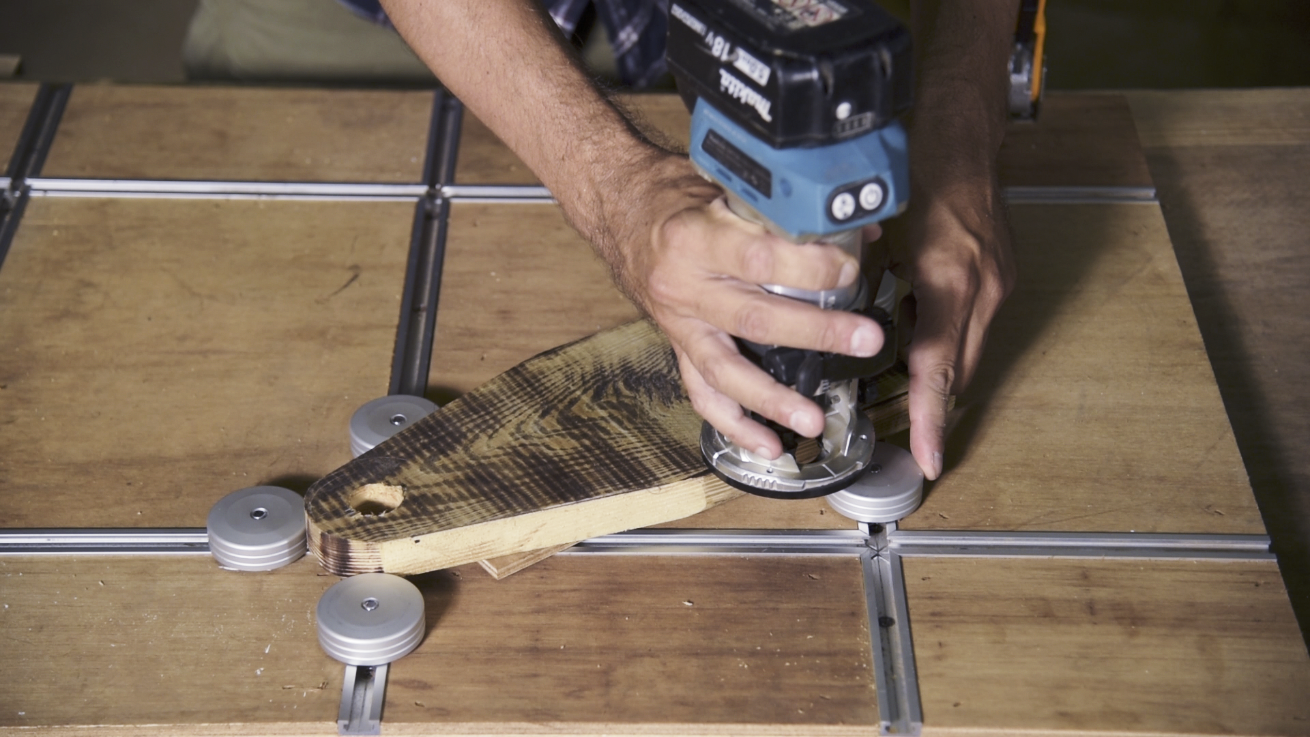
The track board really shined when doing edge work with a router, and also when sanding. The irregular shape of the caddy ends makes them difficult to hold in place. With the tracked workboard, we used round stops to secure the workpiece as it was being finished. (Blog on this soon!) |
Assembly
|
|
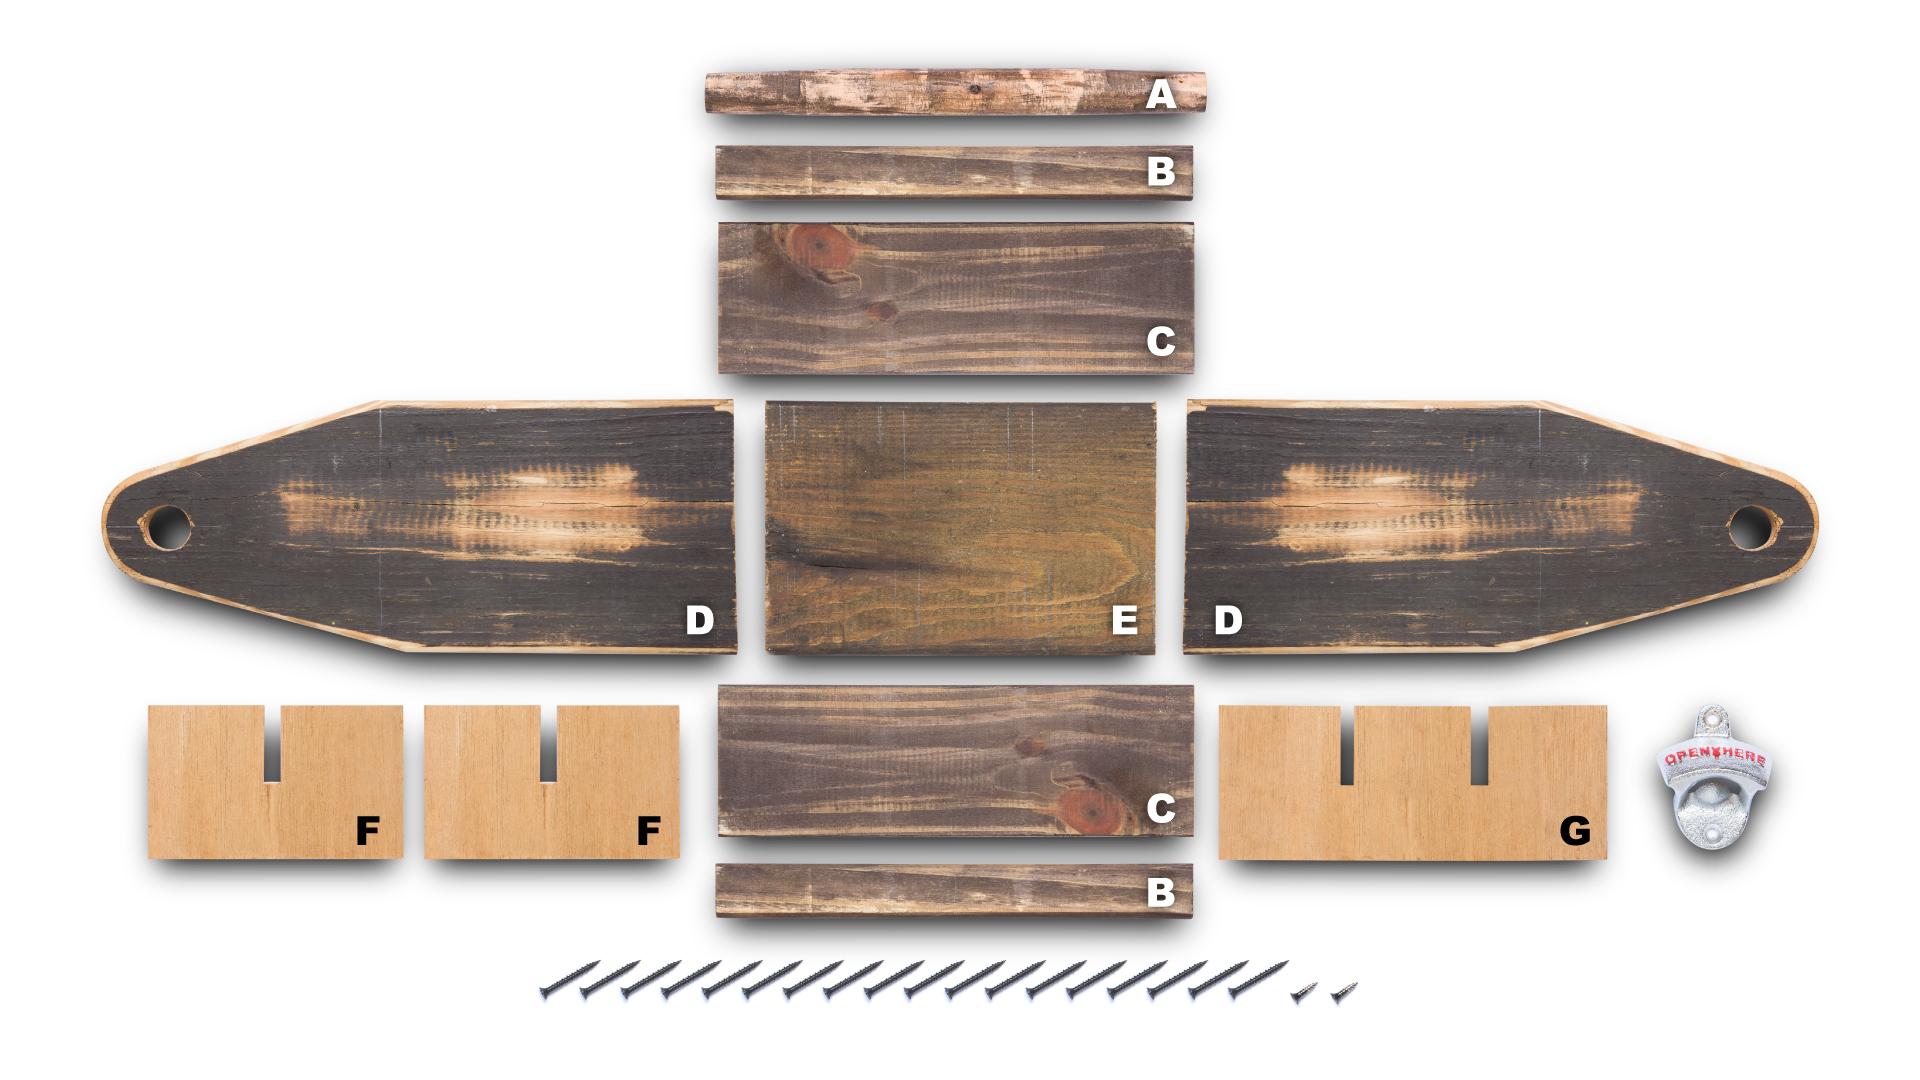
Once the ends are completed, the final assembly is very easy. Take the base “E” and attach the ends “D” (x2) with screws. Next, screw in place the sides “C” (2x) and then “B” (2x). Insert “G” into the center of the caddy and use the dividers “F” (2x) to create the bottle slots. Finally, add the handle and screw in the cast-iron bottle opener. |
Wishing you a great summer from all of us at POWERTEC. Good luck and work safe.
Read Our Other Blog Topics
|
|
|
|

