
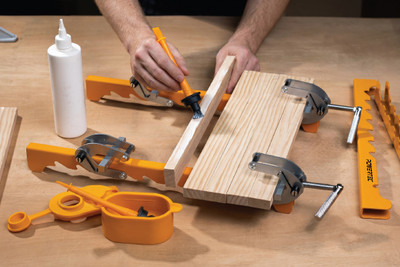
The Best Wood Glue Applicators for Cleaner Glue-Ups (and How to Use Them)
POWERTEC on Jul 29th 2026
The right wood glue applicator makes every glue-up cleaner, faster, and less wasteful, from simple cutting boards to custom cabinetry and detailed joinery.
Glue application gets treated as an afterthought, and it shows: uneven coverage, dried-out glue, shed bristles in the joint, and a bench you have to scrape clean afterward. The tool you reach for changes all of that.
In this guide, you’ll learn what a wood glue applicator is, how to choose the right one for the job, how to apply glue evenly, and how a sealable glue system keeps your glue workable and your bench clean.
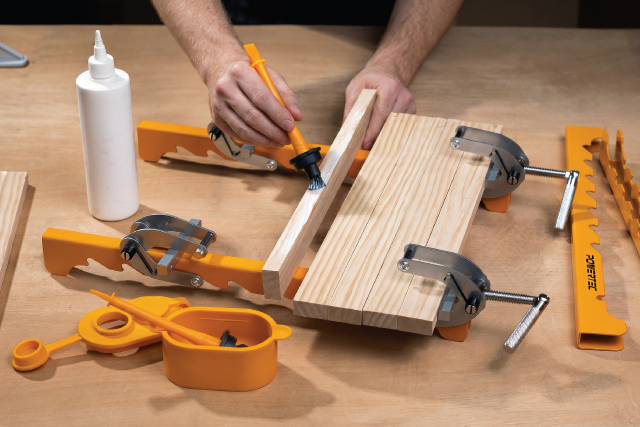
What Is a Wood Glue Applicator?
A wood glue applicator is any tool that spreads glue into a thin, even film across a joint, instead of leaving it in thick beads or spreading it with your finger. The three common types are the brush for controlled coverage, the spreader for broad surfaces, and the roller for large panels and veneer.
The goal of any of them is the same: full, even coverage on both mating surfaces. Most woodworking glue-ups use PVA (yellow or white) glue, and an even coat is what turns a good glue into a strong joint. Too little glue creates a weak "starved joint" with dry voids; too much just makes a mess. The right applicator helps you hit the middle.
Before opening your glue bottle, lay out every clamp and perform a complete dry fit. Once glue touches the wood, the clock starts.
The Missing Piece: A Sealable Glue Keeper
Here's the problem no brush solves on its own. On a long glue-up, poured-out glue starts drying the moment it hits the air. You either work fast and stressed, or you waste what skins over. And every time you set the brush down, it drips on the bench.
A sealable glue keeper fixes both. It's an airtight silicone pot that holds your working glue and docks your brush right inside it. That's what sets the POWERTEC system apart from a plain brush or an open tray: the glue keeper is the heart of the glue applicator kit, and it's the reason the whole glue-up stays clean from start to finish. Here's how it works:
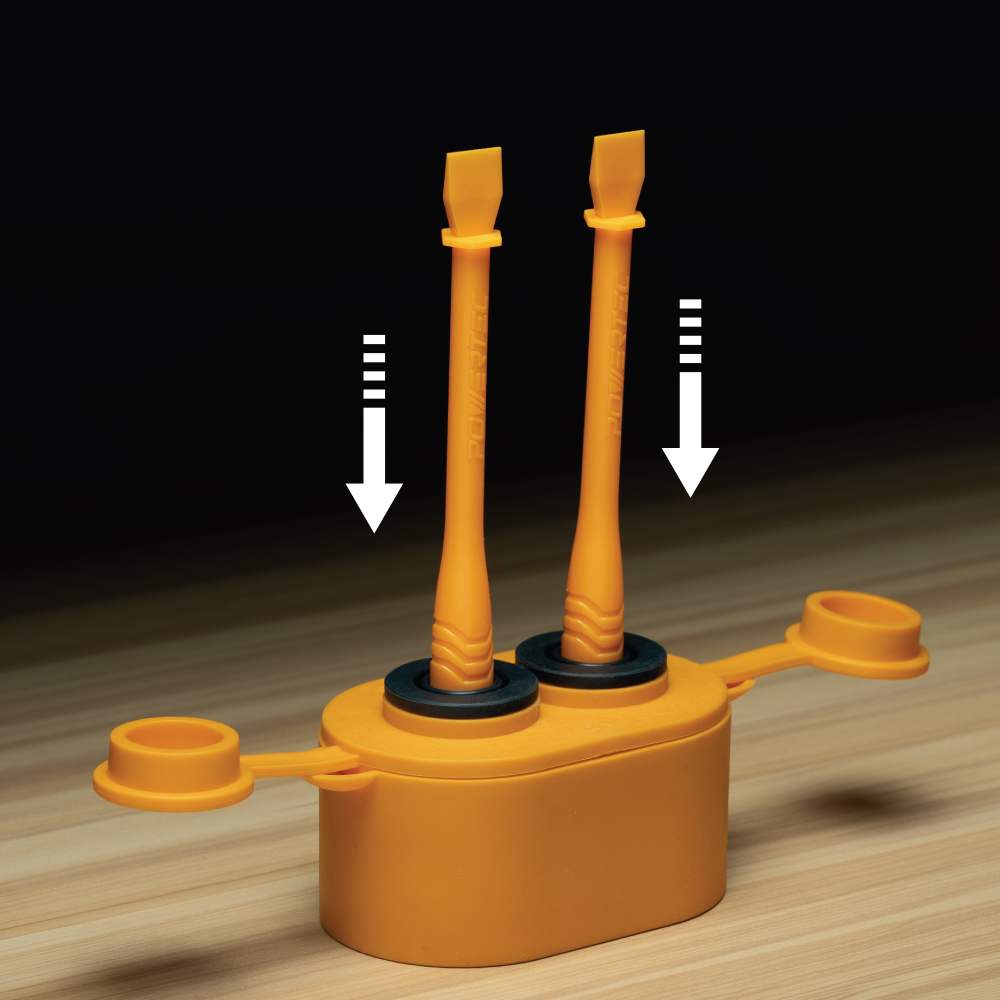
Store & Dip
Dock compatible brushes directly inside the glue keeper so they stay organized and ready to use. Excess glue drains back into the well instead of dripping onto your bench, and the airtight lid keeps the glue workable between coats.
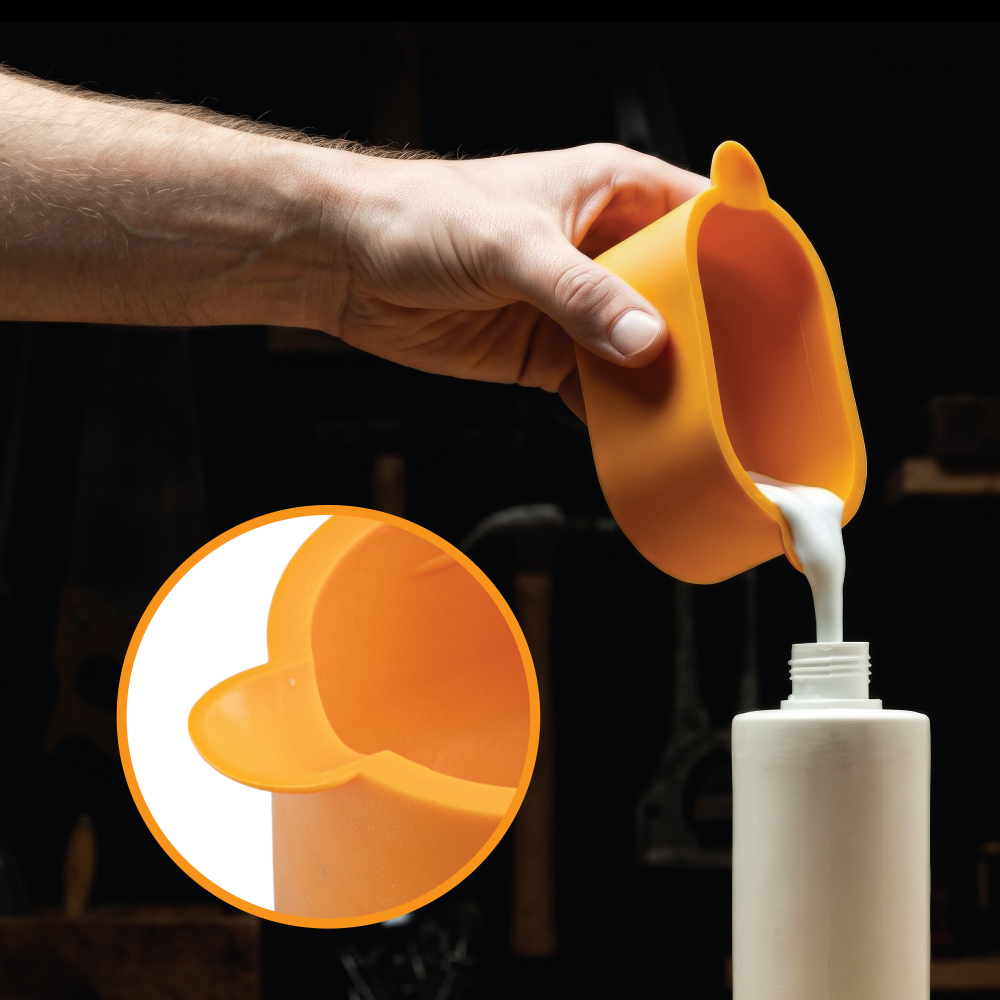
Return & Reuse
Rounded interior corners let glue pool where the brush can reach it, so you use more of what you pour. Whatever's left over goes straight back in the bottle, cutting the waste that open trays leave behind.
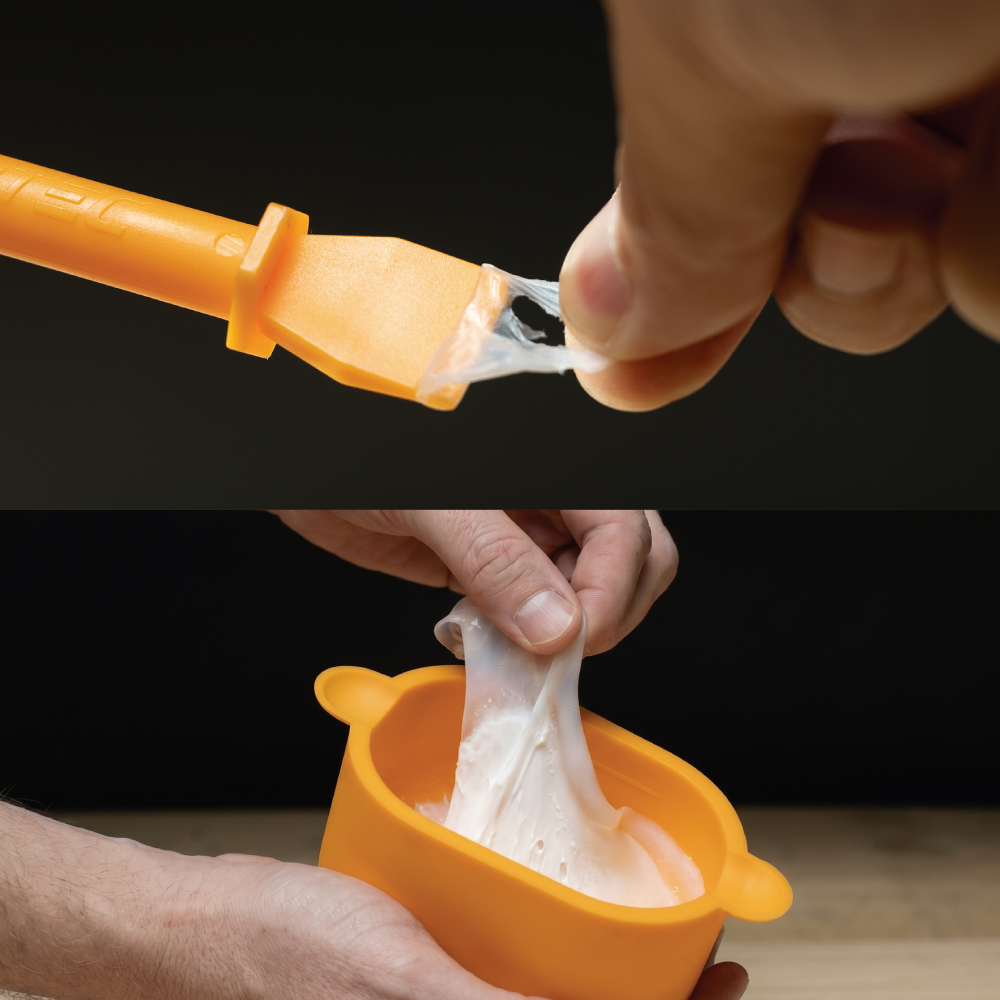
Peel to Clean
Flexible silicone means dried glue peels right off, no soaking, no solvents. Cleanup is faster than disposable brushes or open trays, and the keeper is ready for the next glue-up.
Which Glue Applicator Should You Use?
Gluing a narrow dovetail is a different job from spreading glue across a panel. Match the applicator to the joint. Start with the full kit, then add or replace pieces as your projects change.
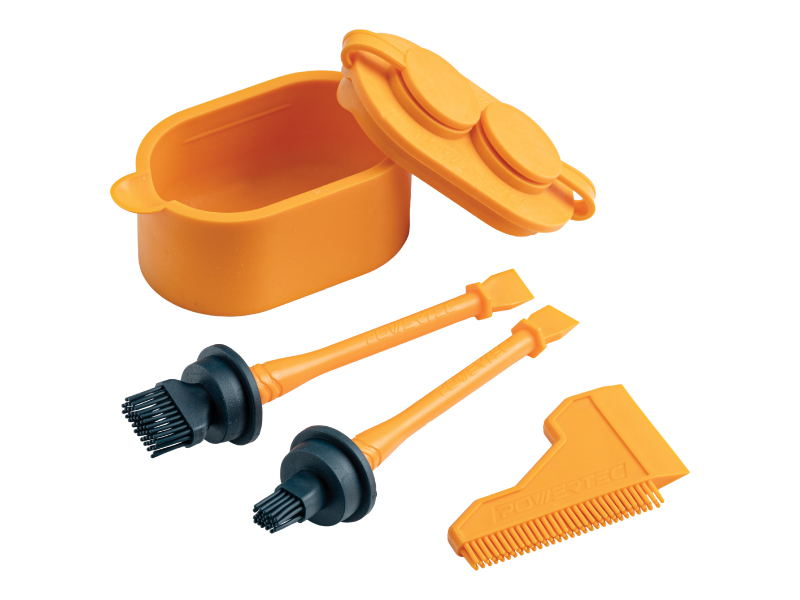 |
Glue Applicator Kit (72254)
Best for: Complete glue-ups, furniture, cabinets, edge gluing, and panel work. • Includes the sealable glue keeper, 1" brush, 1/2" brush, and glue spreader
• Drip-back storage keeps glue workable and the bench clean
• Glue not included
|
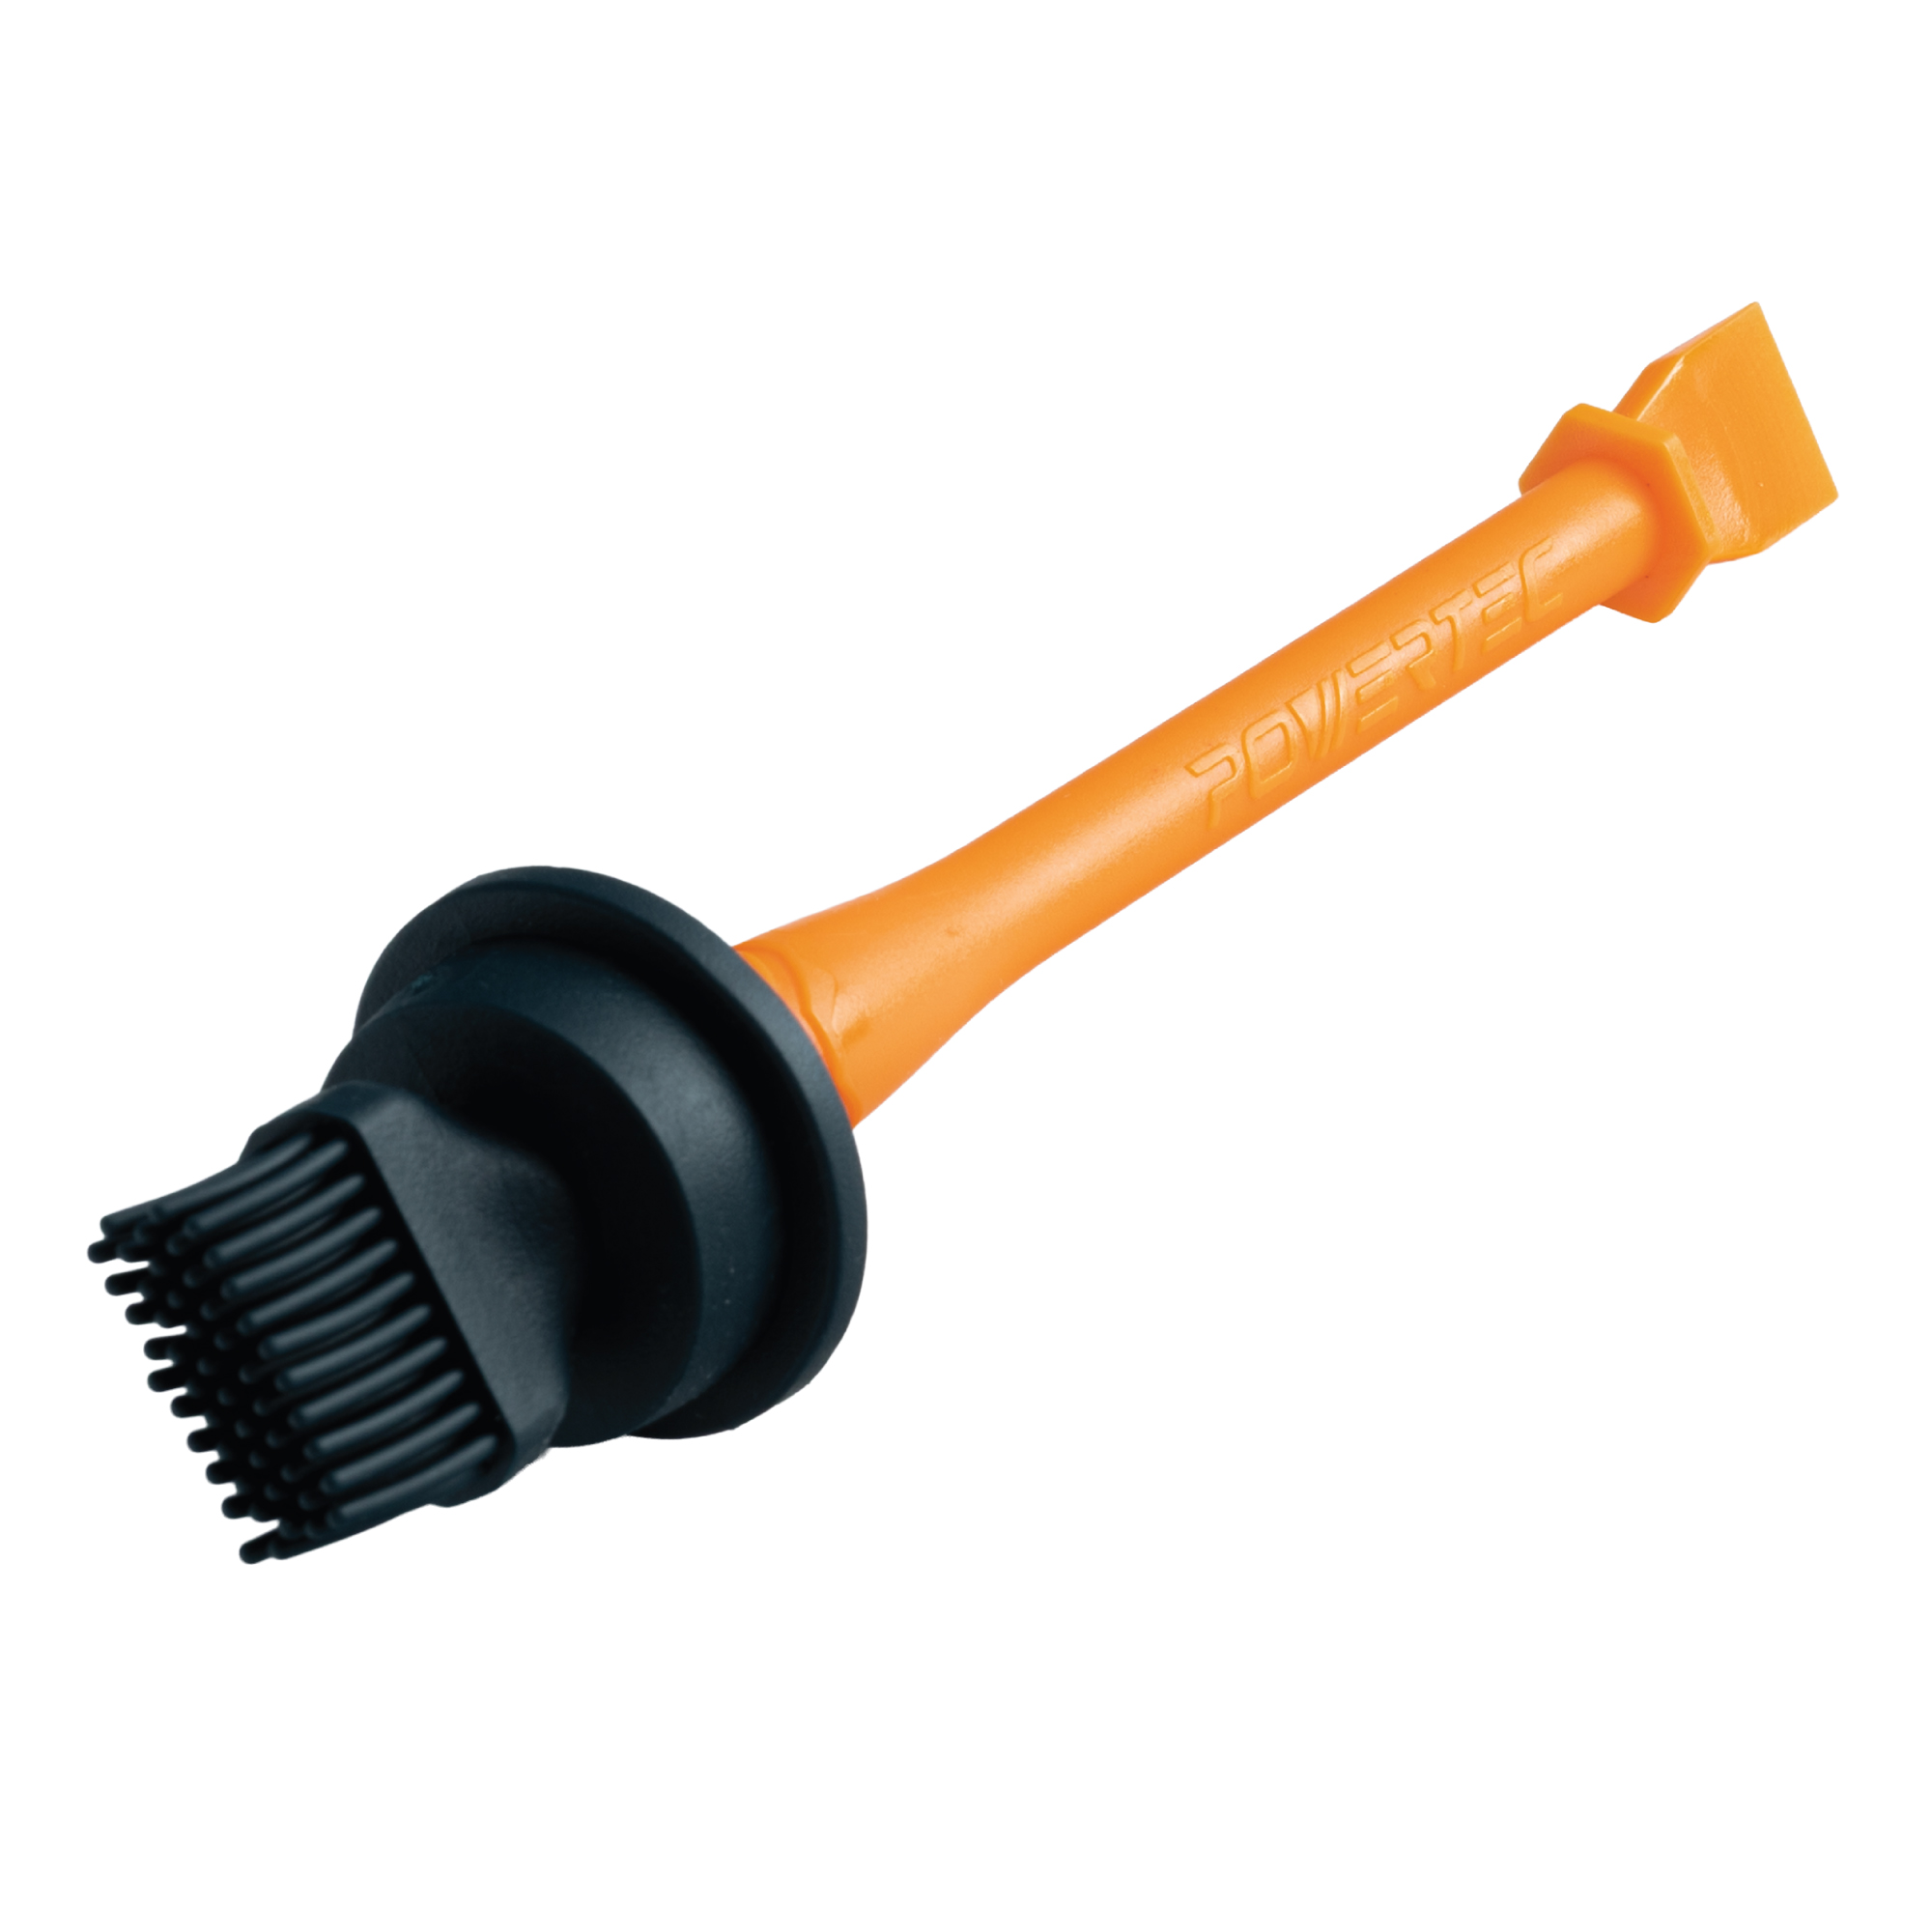 |
1" Silicone Glue Brush (72298)
Best for: Edge gluing, panel glue-ups, cabinet assembly, and general woodworking. The wider 1" profile covers larger surfaces fast, with a built-in scraper edge for controlling coverage. Peels clean and reuses for years. |
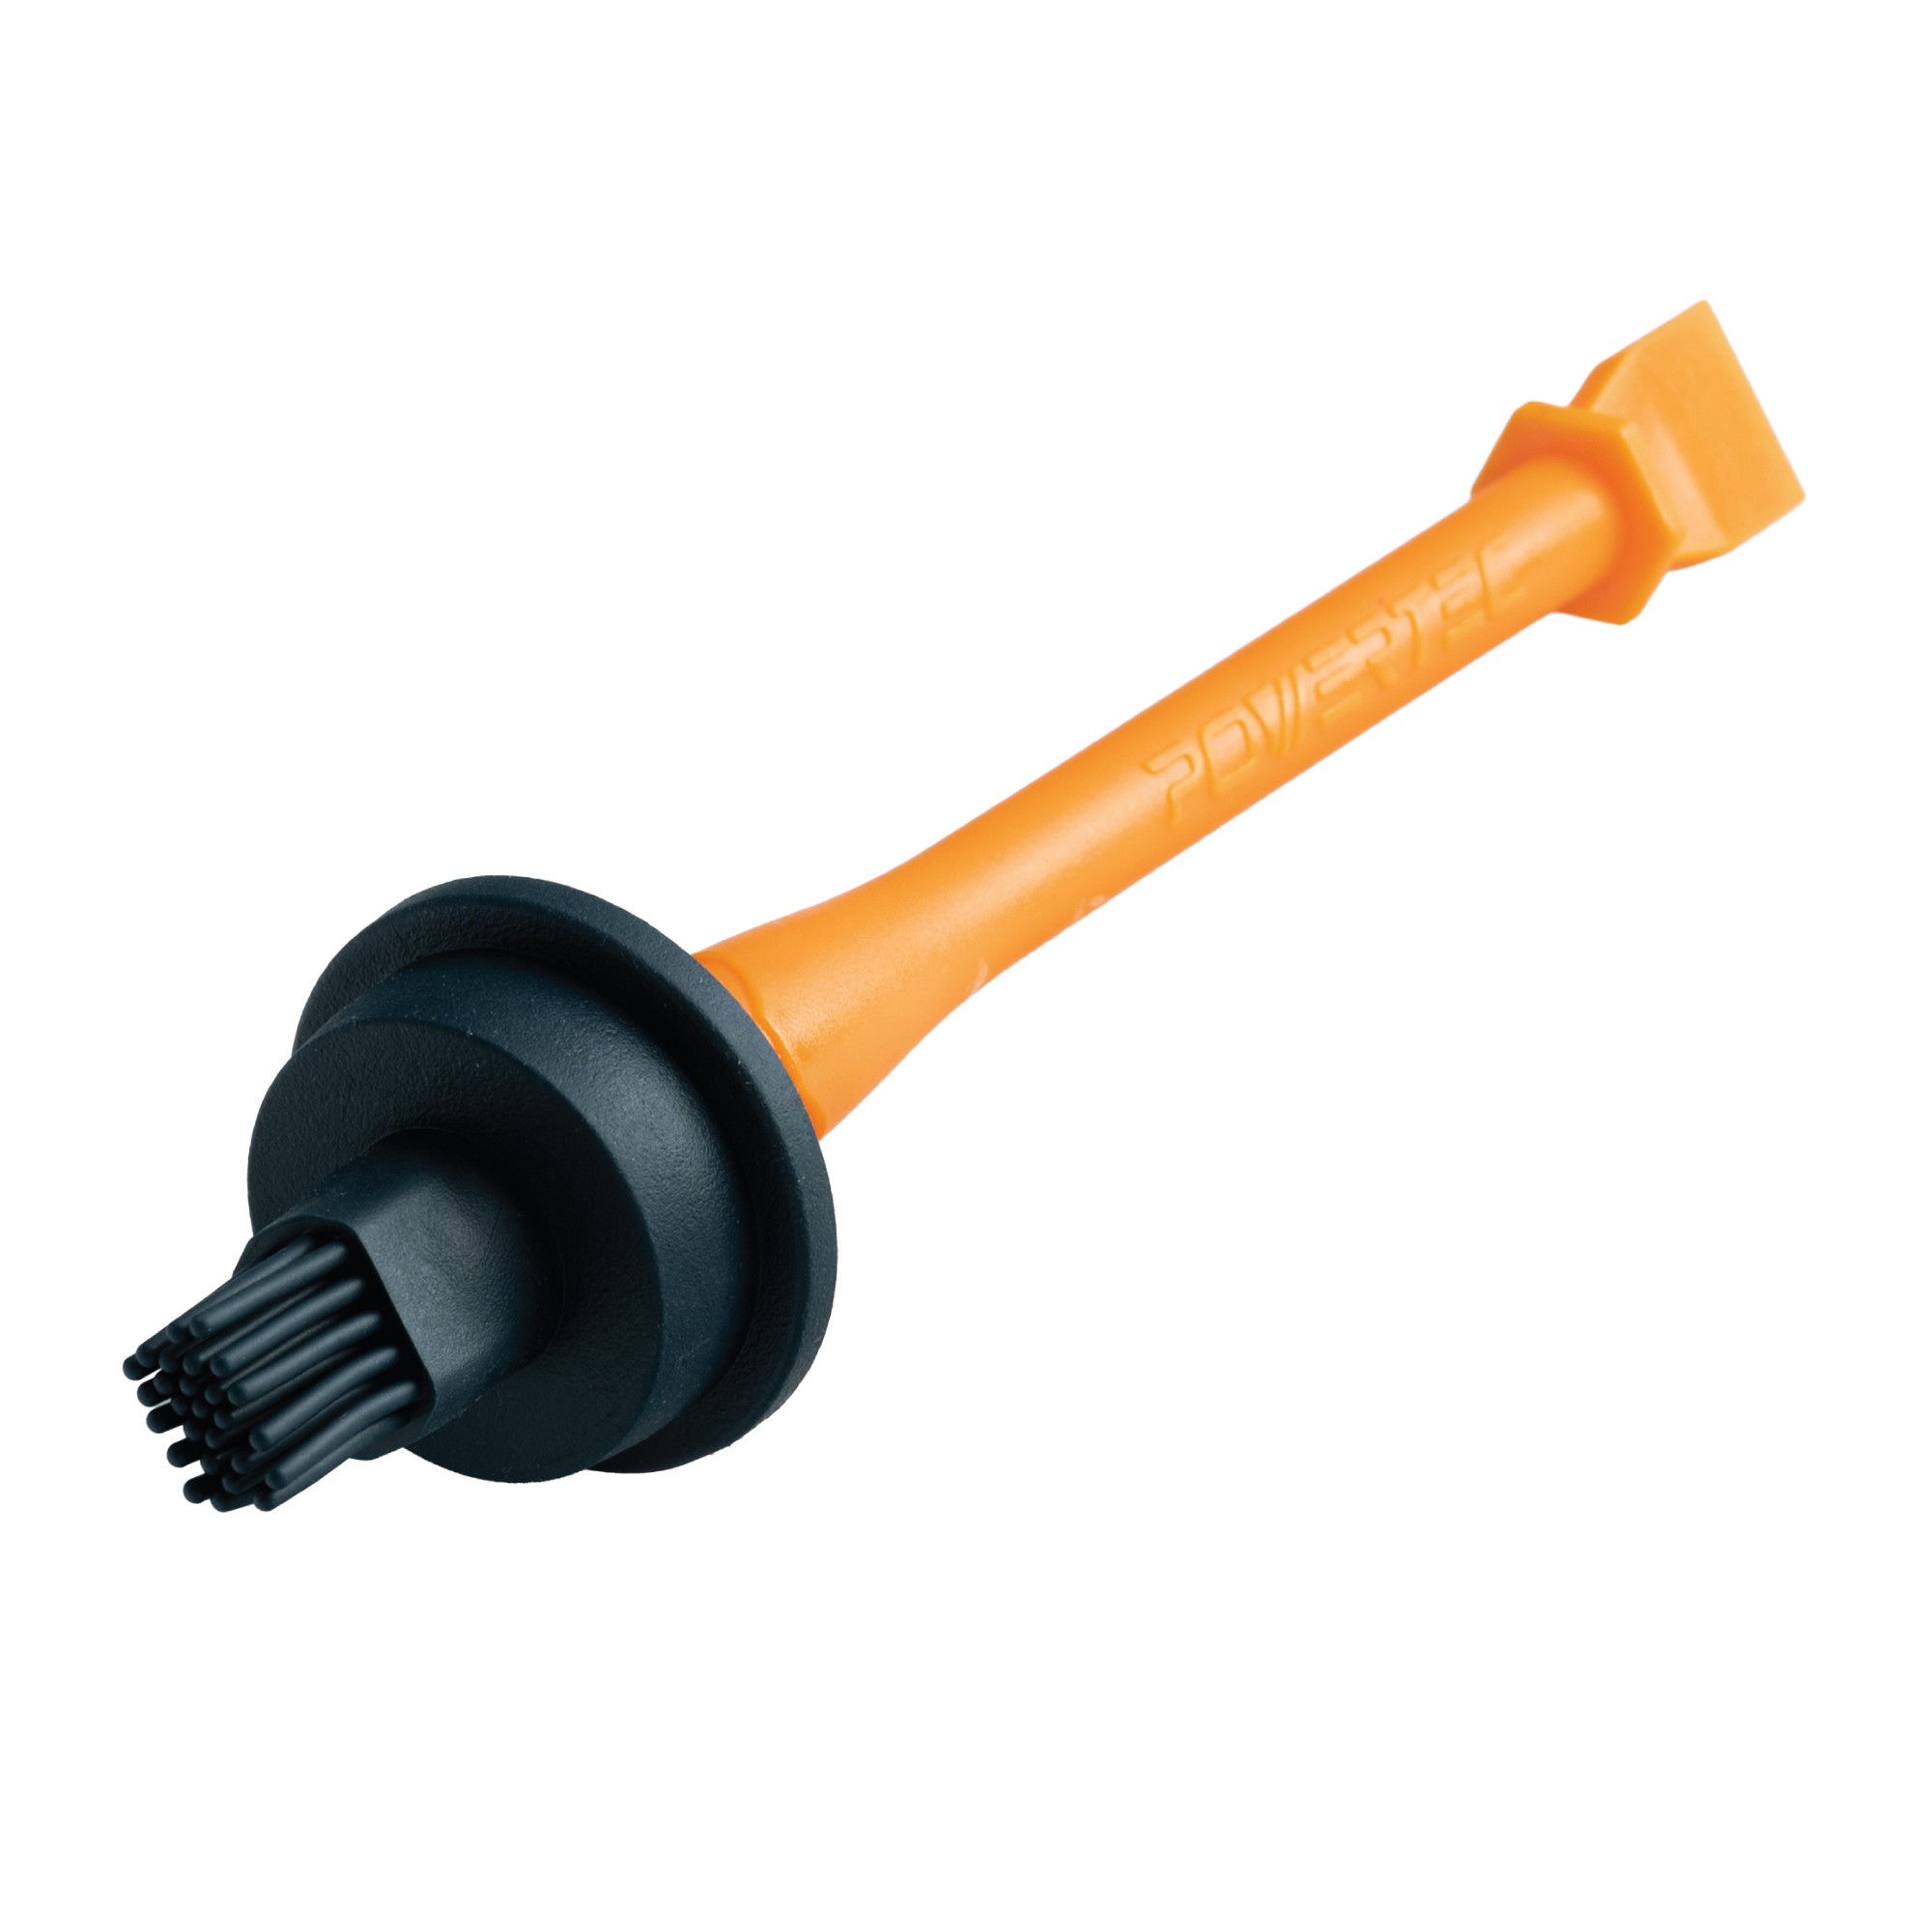 |
1/2" Silicone Glue Brush (72463)
Best for: Dovetails, box joints, mortise and tenon, edge banding, and trim work. The narrow profile gives better control in tight spaces where precision matters more than speed. Same scraper edge and peel-clean silicone. |
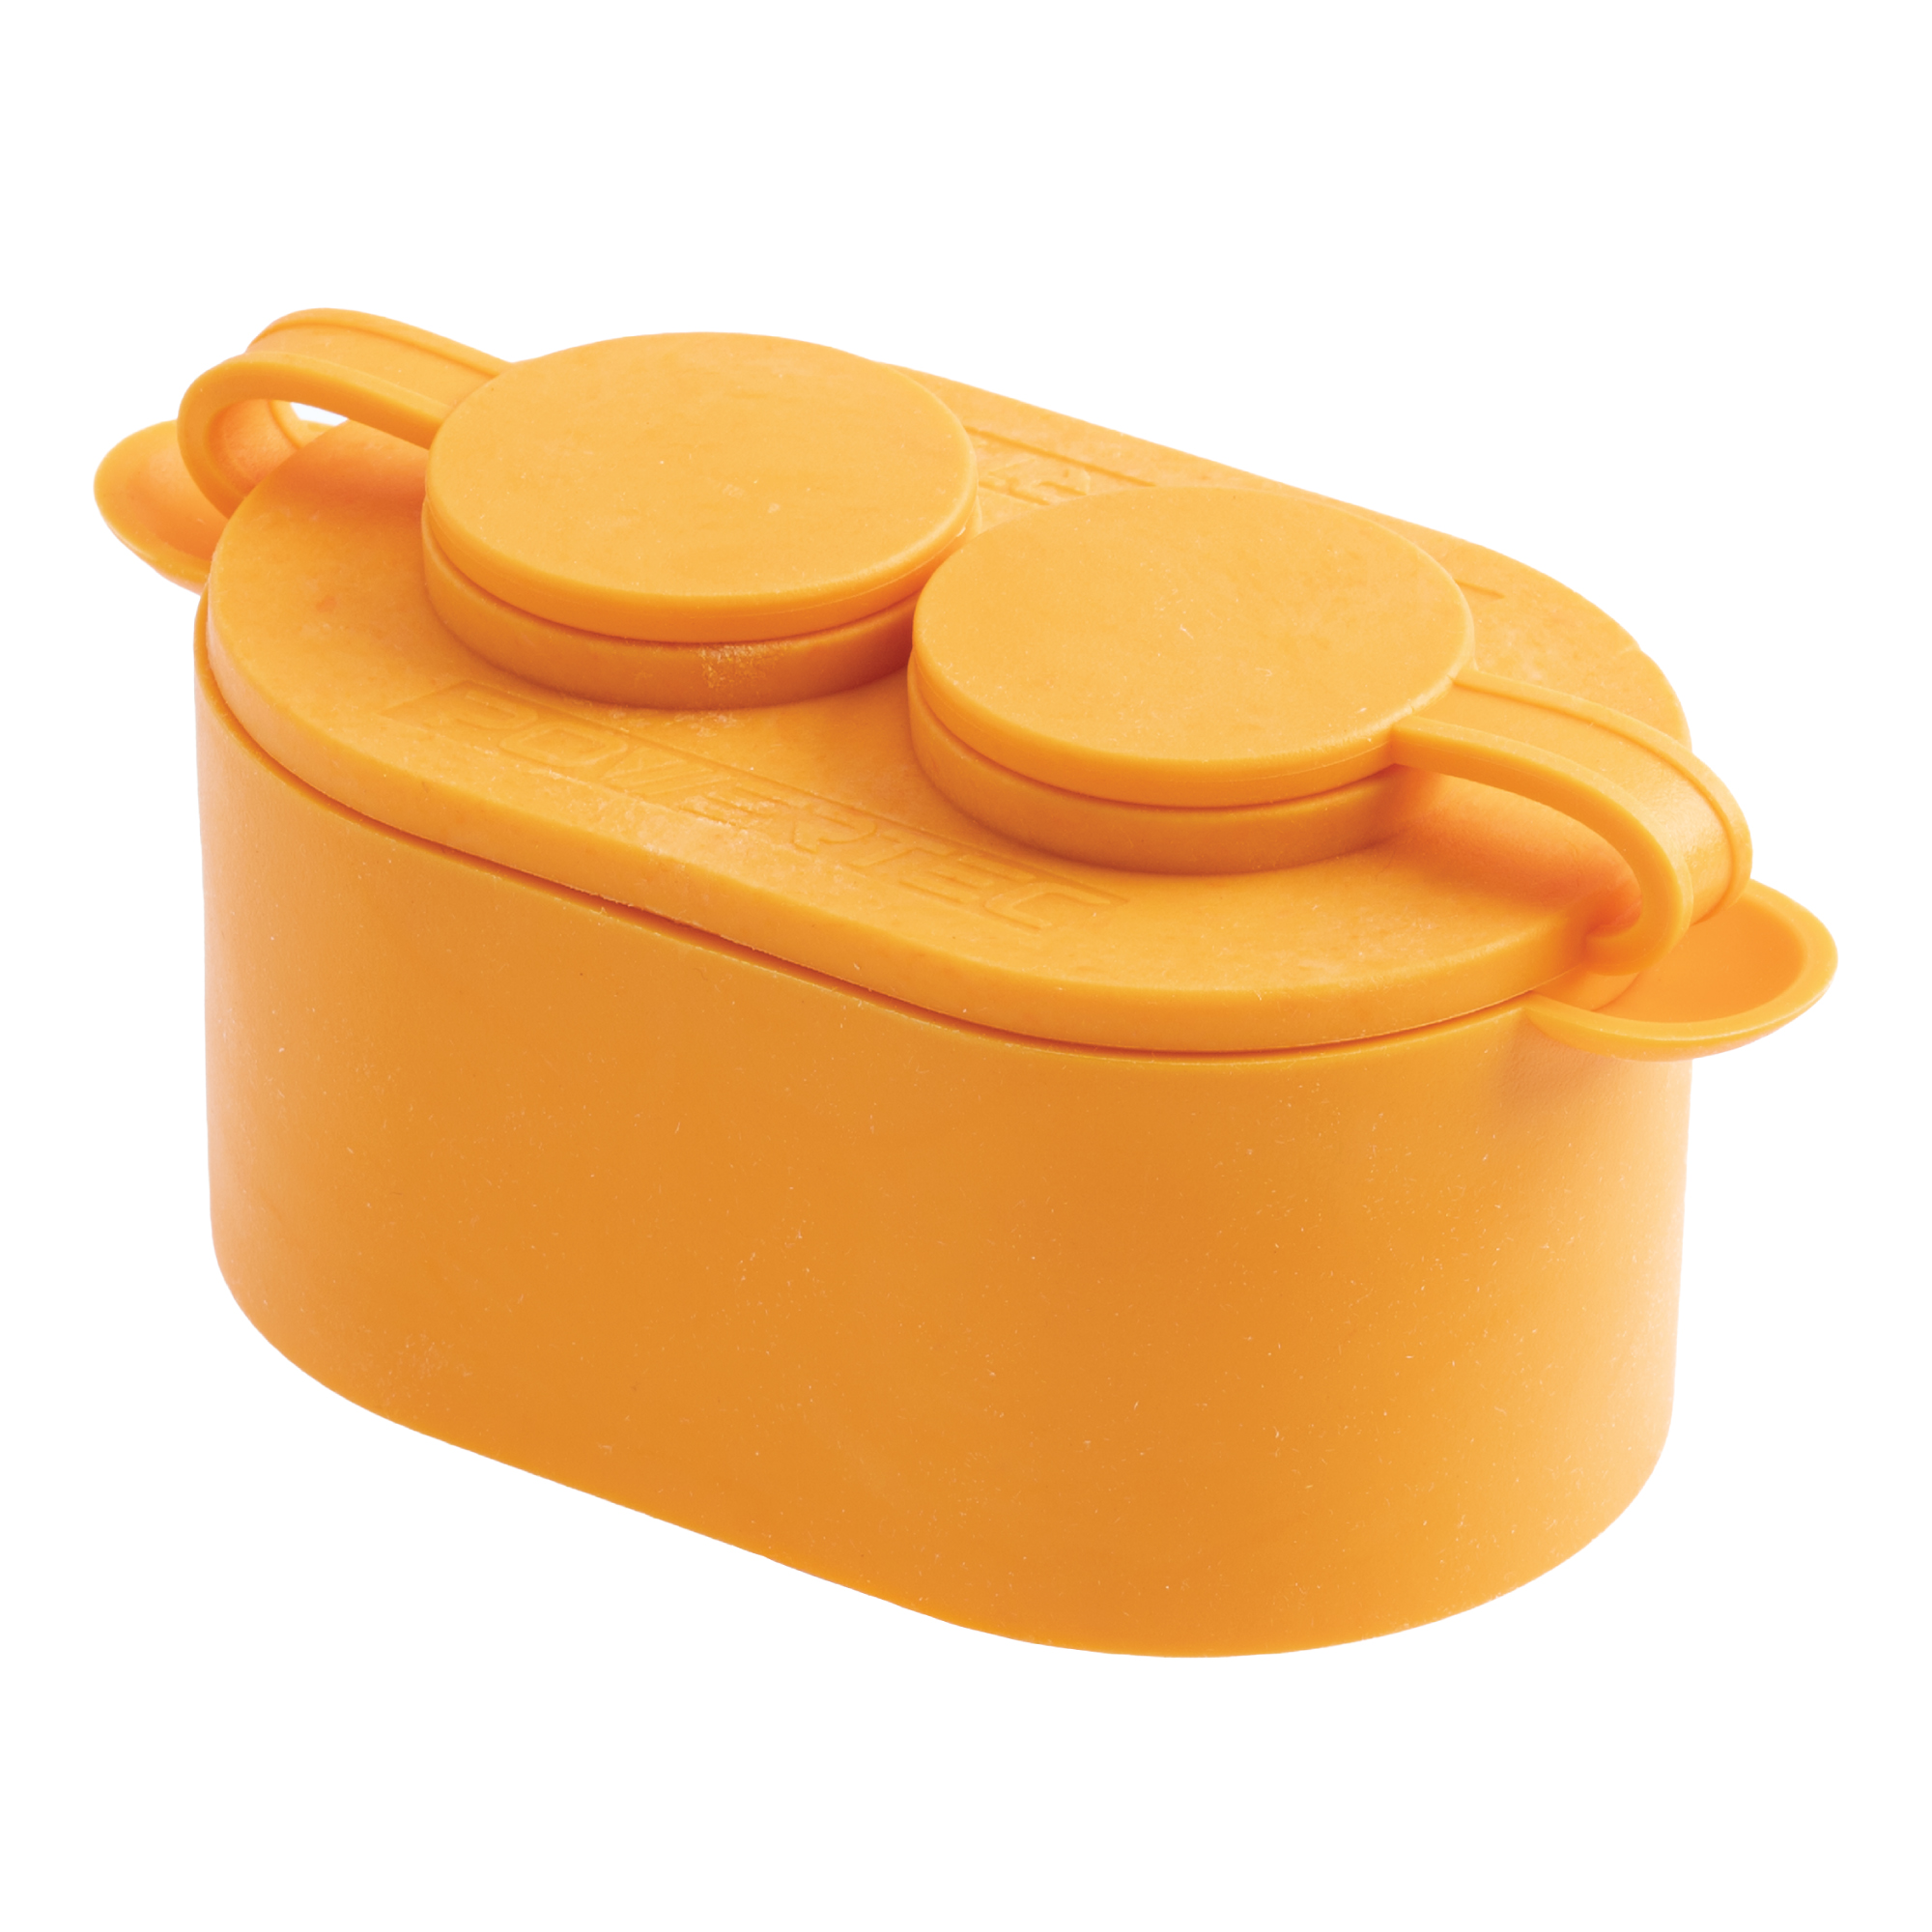 |
Sealable Glue Keeper (72299)
Best for: Long glue-ups, organized brush storage, and cutting glue waste. The airtight silicone pot keeps glue workable while brushes drain back into it. Buy it on its own to add a second station or replace the one in your kit. |
Unlike disposable brushes, silicone glue applicators don't absorb glue and won't shed bristles into your joint. Flexible silicone bristles spread adhesive evenly, and dried glue peels away after curing, making cleanup faster and cutting waste.
How to Apply Wood Glue Evenly
A clean glue-up follows a simple process: prepare the surface, apply the right amount of glue, spread it evenly, assemble, clamp, and allow proper curing time.
|
1Dry-fit first
Clamp the whole thing together with no glue. Water-based glue swells the wood, so a joint that fits perfectly dry can bind up wet. Better to find that out now. |
2Wet both faces
A thin, even coat on both mating surfaces. Too little starves the joint and leaves dry voids; too much just squeezes out and wastes glue. Aim for full coverage, not a puddle. |
|
3Spread it thin
Drag it into a continuous film, no thick beads. 1/2" brush for tight joinery, 1" brush or spreader for panels. A silicone brush gives you the control a finger never will. |
4Assemble before it skins
Most PVA glue gives you about 5 minutes of open time before it starts to set. Have every clamp staged and within reach before you start. |
|
5Clamp for the squeeze-out
Tighten gradually until you see a small, even bead squeeze out along the whole seam; that's your proof of full contact. Alternate clamps top and bottom so the panel stays flat. |
6Wait to scrape, then cure
Don't wipe wet glue; it smears into the grain and ghosts under finish. Wait ~30 min until the bead rubbers up, then shave it off clean with a chisel. |
Slippery wet glue makes boards slide out of line the second you clamp. Tap two small brads into a waste area of one board before glue-up, snip the heads, and leave a stub proud. They bite into the mating board and lock your alignment while you tighten down. No more chasing a panel across the bench.
Common Glue-Up Mistakes to Avoid
✕ Applying too much glue: Use a thin, even coat instead of heavy puddles.
✕ Applying too little glue: Skimping starves the joint and leaves dry voids that weaken the bond.
✕ Skipping the dry fit: Test the assembly before glue is applied.
✕ Using the wrong applicator: Match the brush or spreader to the joint size.
✕ Wiping wet squeeze-out: It smears into the grain. Let it gel, then scrape.
✕ Removing clamps too early: Follow the glue's recommended cure time before stressing the joint.
Recommended Clamps for Glue-Ups
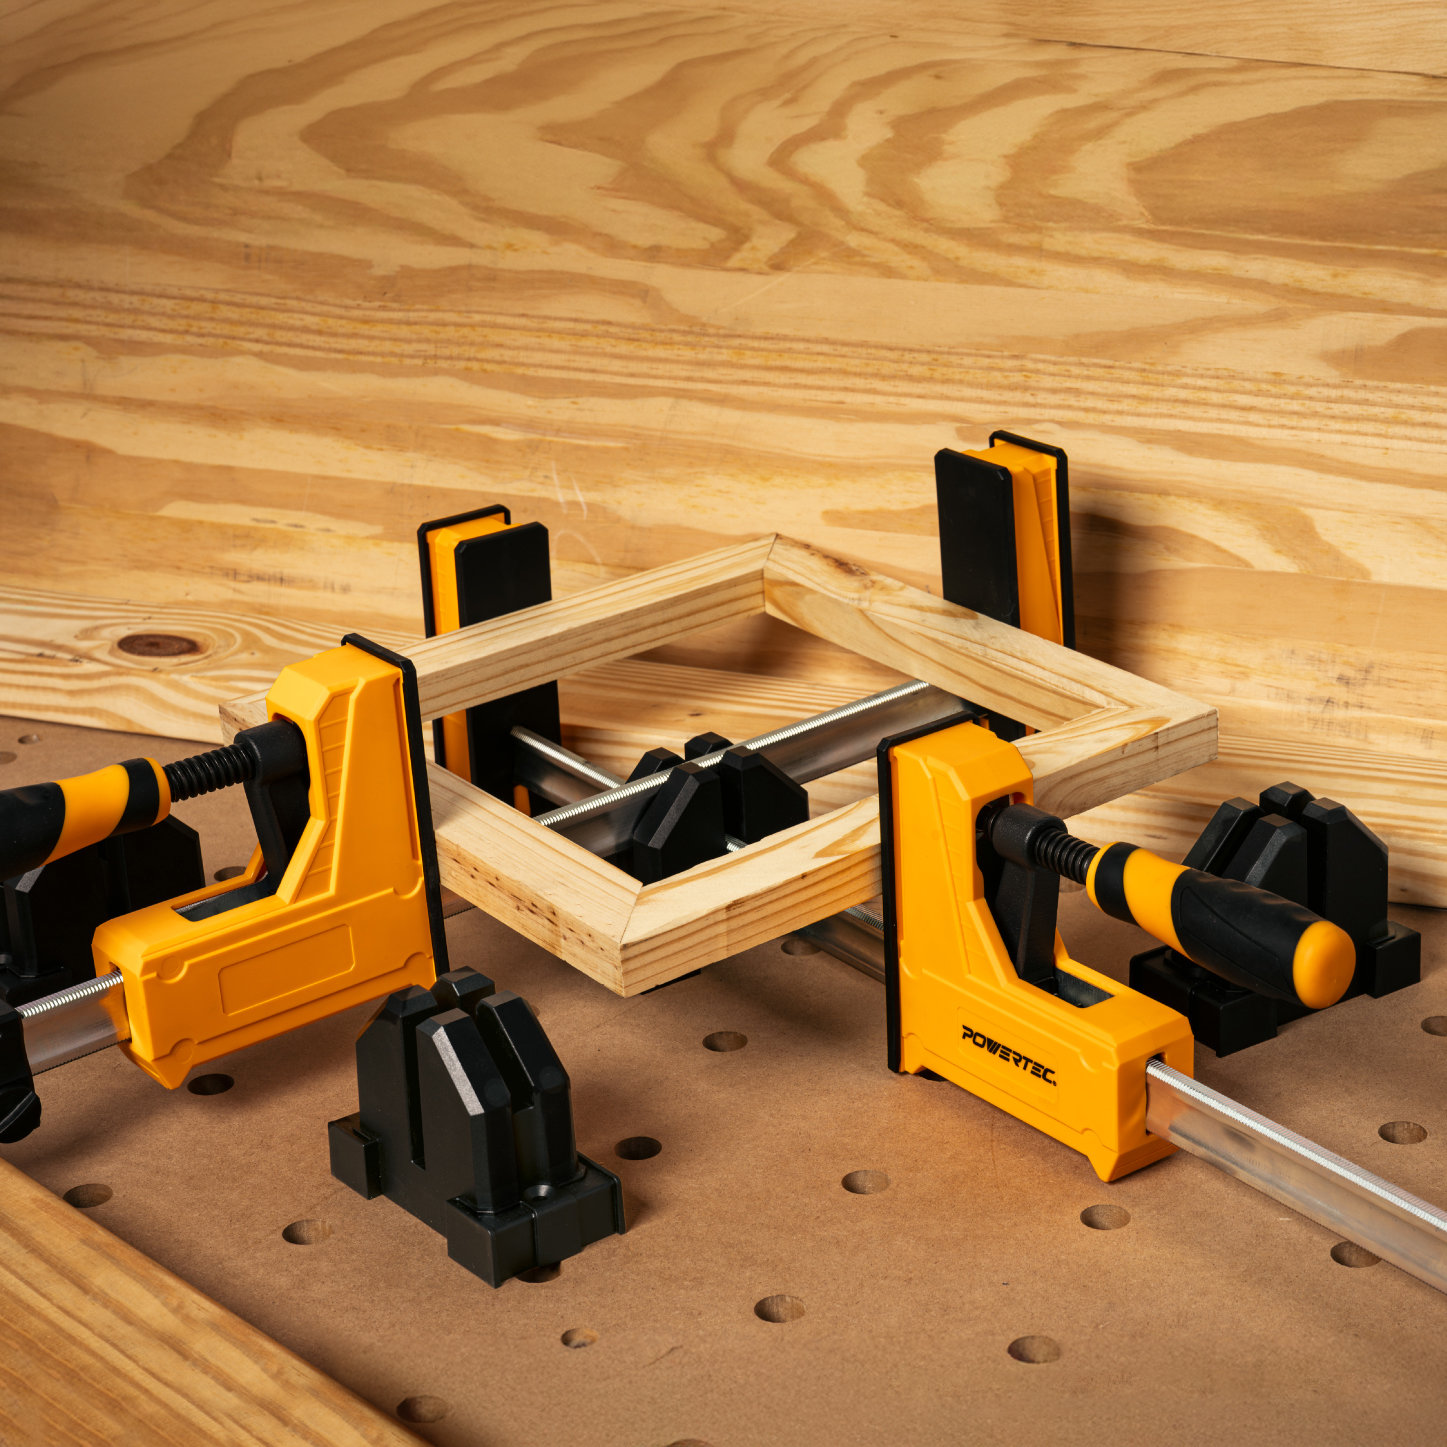
Proper glue application is only half the equation. Maintaining even pressure while the glue cures is just as important.
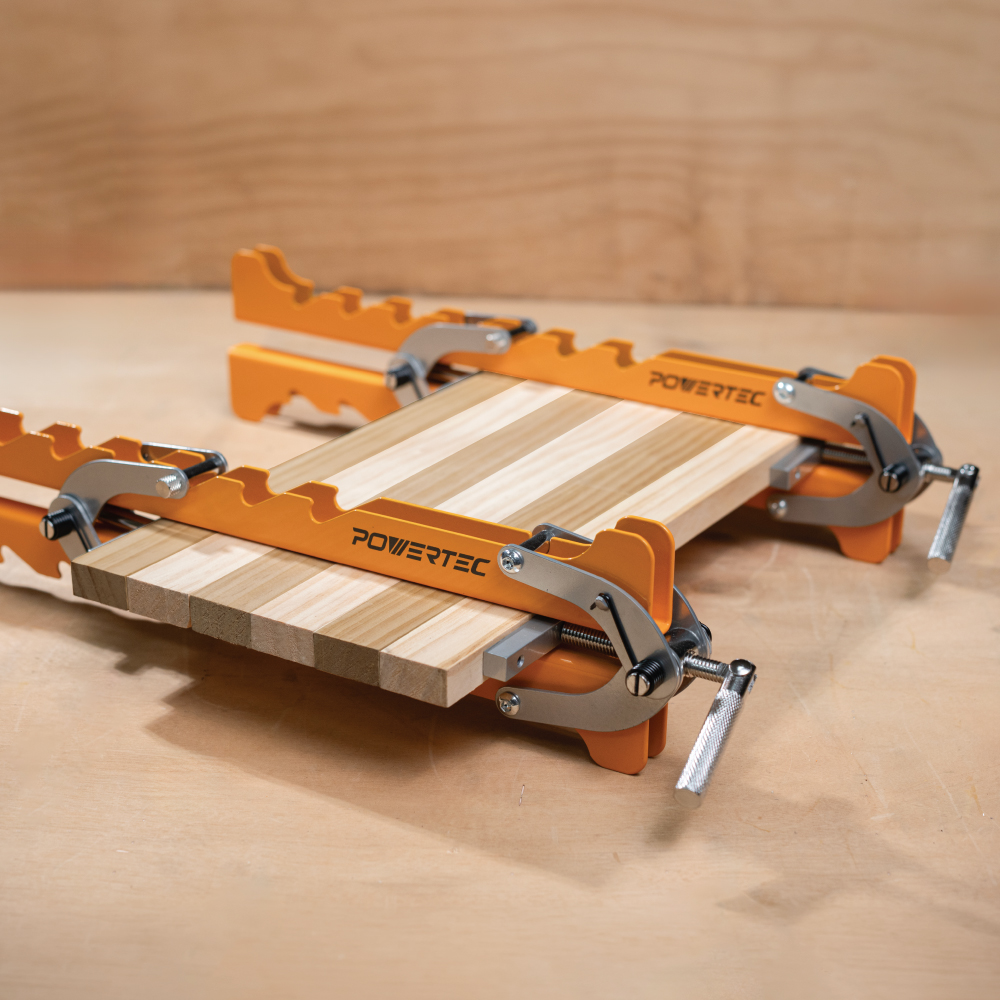 |
16" 4-Way Panel Clamps (72436)
Best for cutting boards, tabletops, cabinet panels, and small panel glue-ups where boards need to stay flat. View Panel Clamps |
Helpful Glue-Up Add-Ons
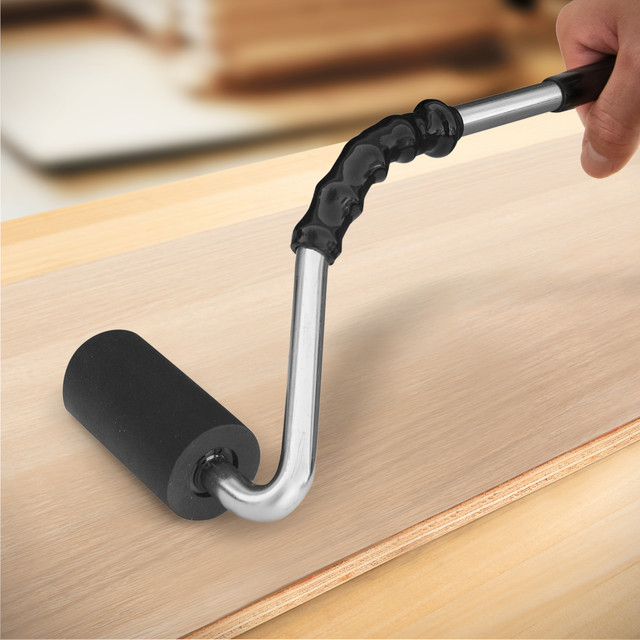 |
Curved Handle Press Roller (71011)
Applies even pressure to veneers, laminates, and adhesive surfaces while helping remove trapped air. View Press Roller |
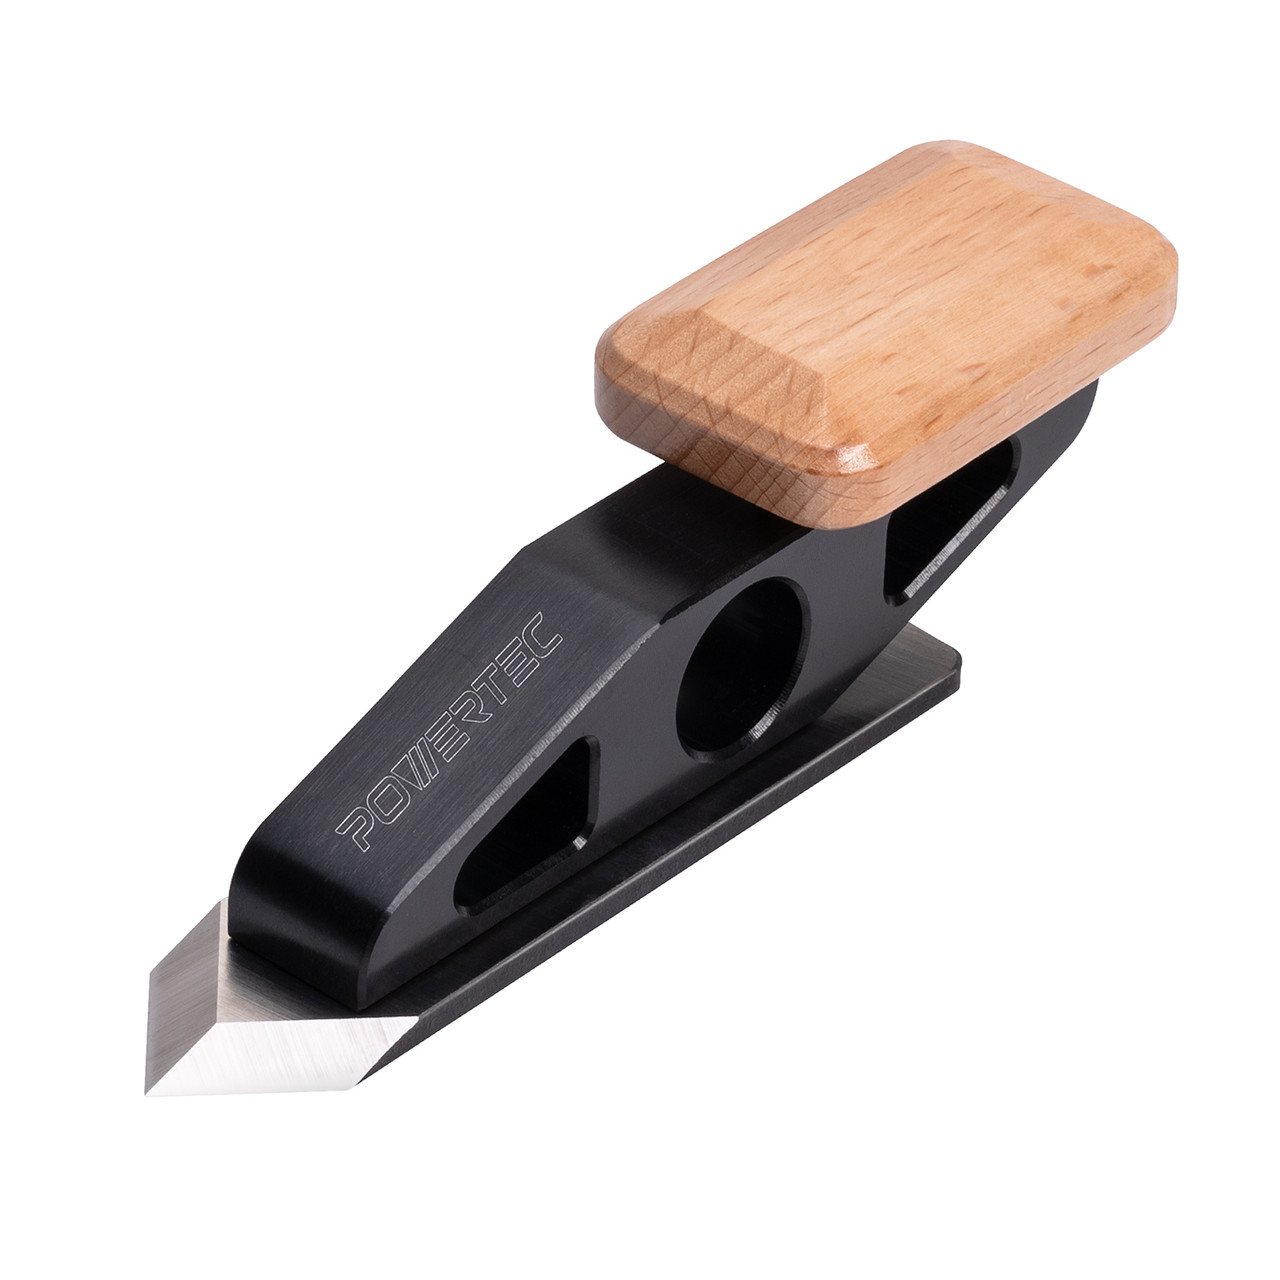 |
Chisel Plane with Spear Point Blade (72163)
The tool for that Step 6 squeeze-out: shave off gelled glue, trim plugs, and clean tight corners after curing. View Chisel Plane |